The Espresso Machine Restoration site
A non-commercial site for those interested in espresso equipment repair and restoration.

just purchased the Nuova Simonelli Mac, a machine from a restaurant that has closed down and it was a spur of the
moment decision. I was completely unfamiliar with the machine and was told it was not in good working order.
Before handing over the money
With the NS Mac I had to make sure that the machine only had a few minor problems. In this case I was fortunate
that the owners had received a quotation from the original seller to get it fixed. The problem in this case was a dead
heating element which they had been quoted US$300. Ouch!
I then had a quick 5 mins on the internet to find out more about the machine. I therefore in no time at all knew that it
had a top quality group and boiler, an internal Procon pump & motor which in itself is worth around US$250-300, a
very sophisticated Gicar electronic unit & flowmeter worth around US$400 and a very new Sirai p-stat worth about
US$50. I also knew that because it was only a year old that parts would be easily available.
Obviously the rule of thumb would be that you would like as much as possible to know what work is involved in
getting the machine back to it`s former glory. For me I do not worry about thing so much because I will strip
everything down completely but if you have limited access to parts and craftsmen then you will need to plan ahead.
OK UPS has just dropped off the machine or you have just driven back from a 300mile round trip with it in your car.
What should you do?
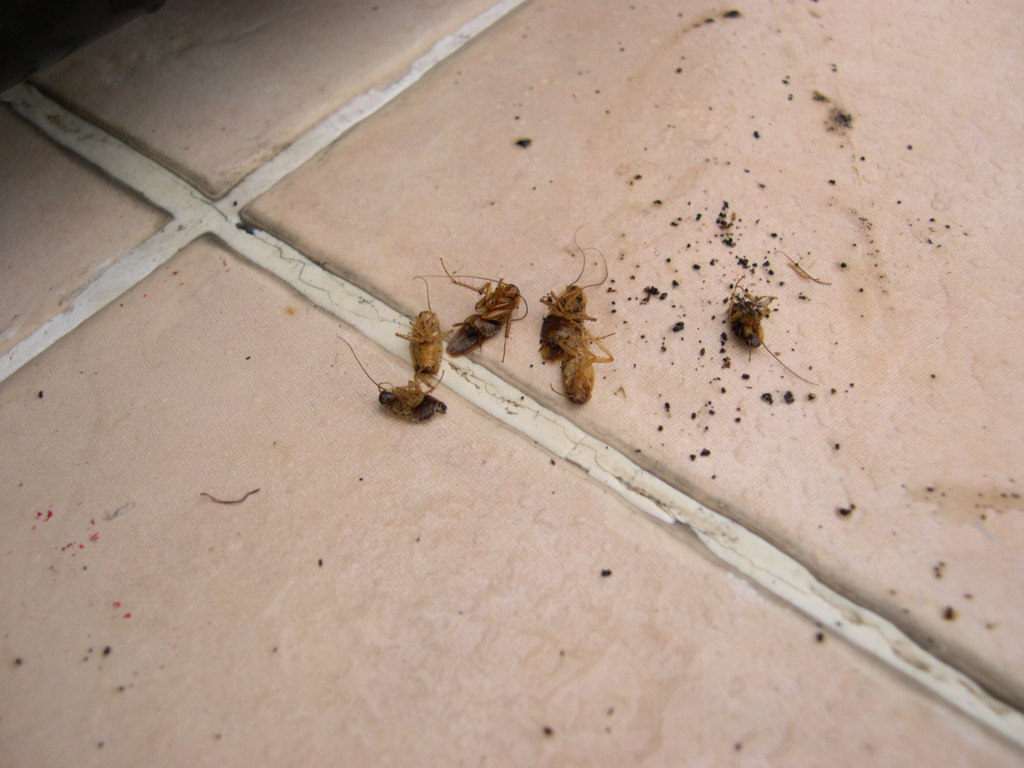
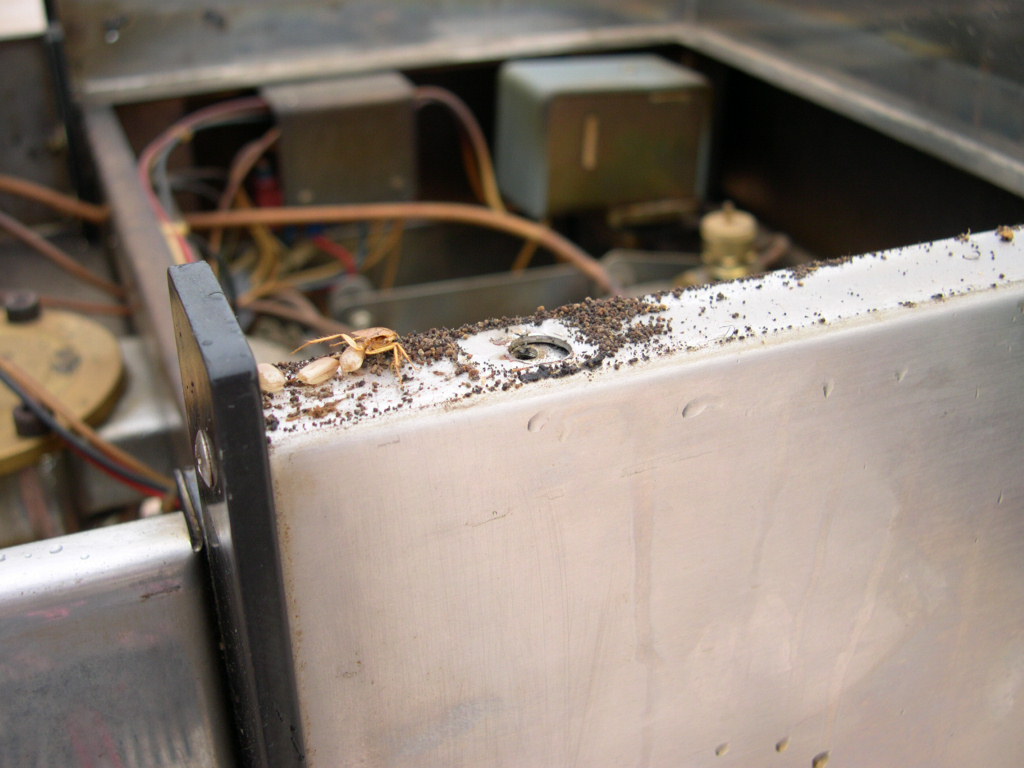
1. Pest control.
Yes that`s correct, pest control. Insects and bugs especially cockroaches love espresso machines. Chances are
your machines has some little family in there somewhere. Get your insect killer spray out and leave it to do it`s
magic. I once had a 2G Linea from a restaurant that infected my workshop and had to be expertly treated to get rid
of them.
2. Start-up test.
If you didn`t know if it was a runner, now is the time to do so. The NS Mac I plugged in and sure enough the
elements were dead. Everything else was OK. If the machine is a real basket case like my GS2 I did not even
bother testing it since I bought it as a parts only machine.
Once you know what is wrong, then you can get ready an initial parts order, ask questions and get prepared whilst
you are cleaning the machine over the next few days/weeks.
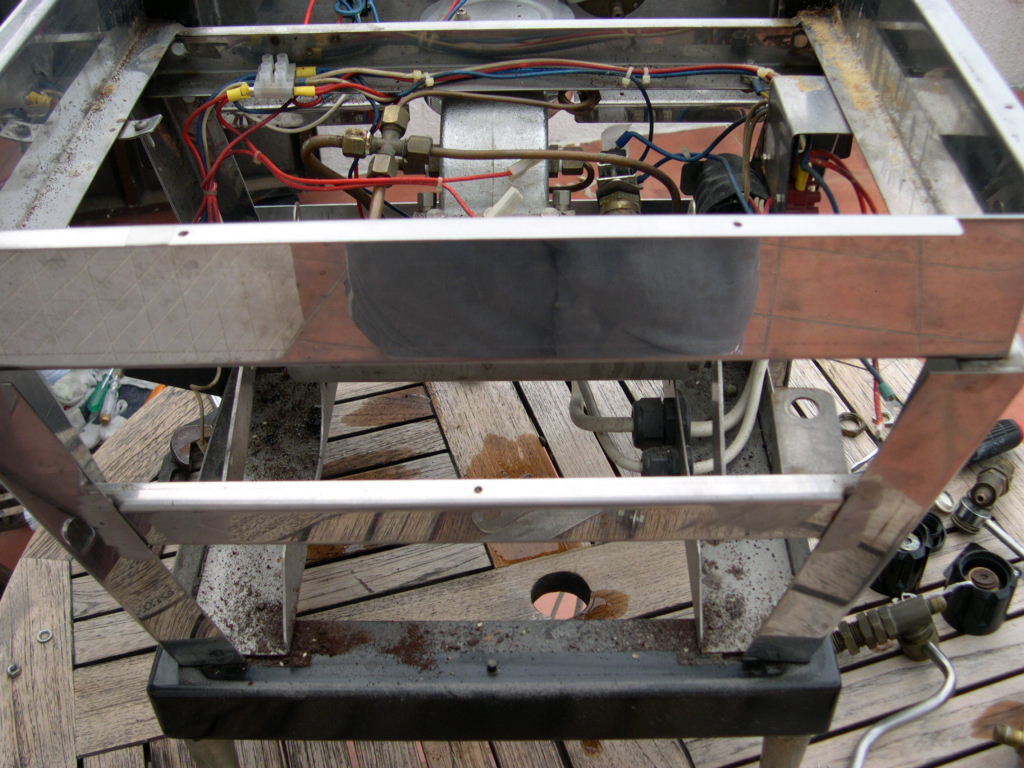
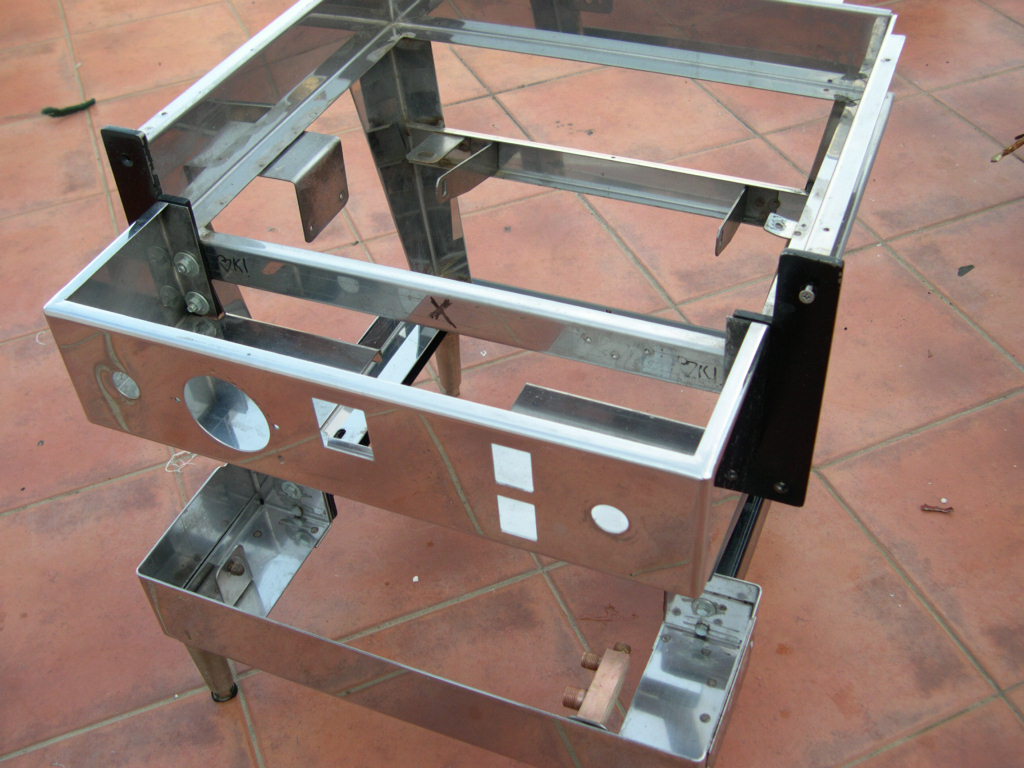
3. Strip down.
My approach to a restoration is like removing rust on a classic car. In the long-run you are better off cutting that
bad patch of metal out and welding in a new piece. So just strip it down completely! I don`t really have an system for
this but it is usually like a knife and fork arrangement at a formal dinner party. Start from the outside (knife and fork)
and work in. So remove all panels, trim and trays to leave the frame.
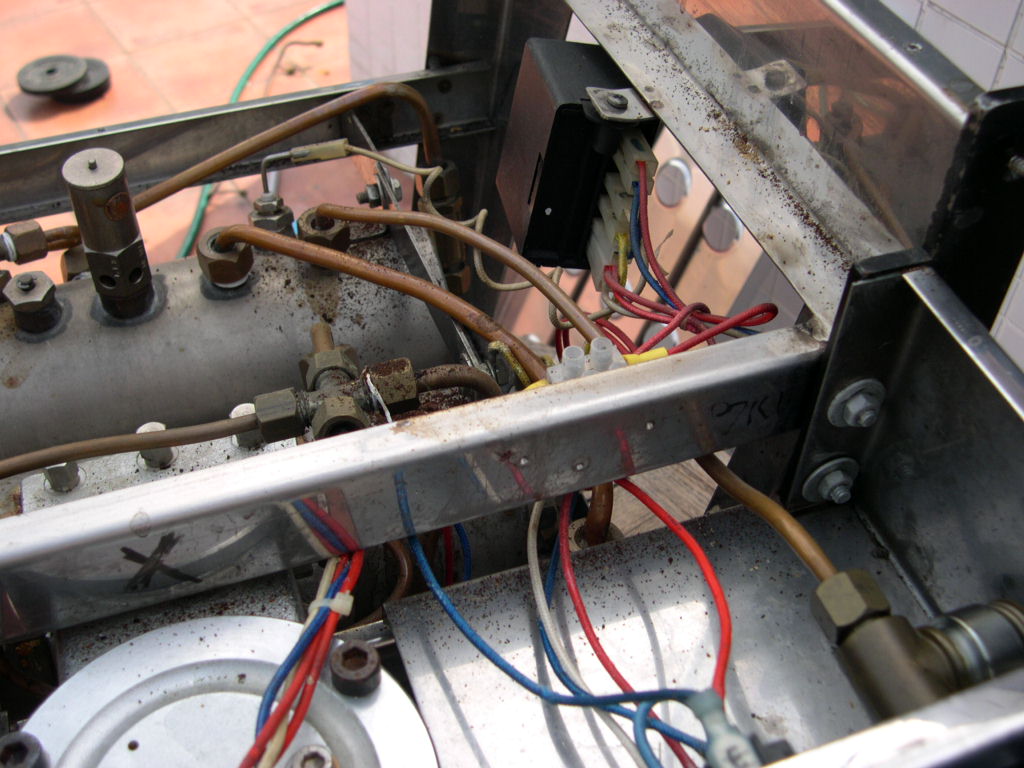
If you are unfamiliar with the machine then take notes and digital pictures to document each part that comes off so
you can replace it. Even Swiss watchmakers do this so they know how to reassemble watch movements. Most
probably the wiring loom will be the last thing to remove. You should take extreme care to label and make notes on
where the wires go. Take your time!
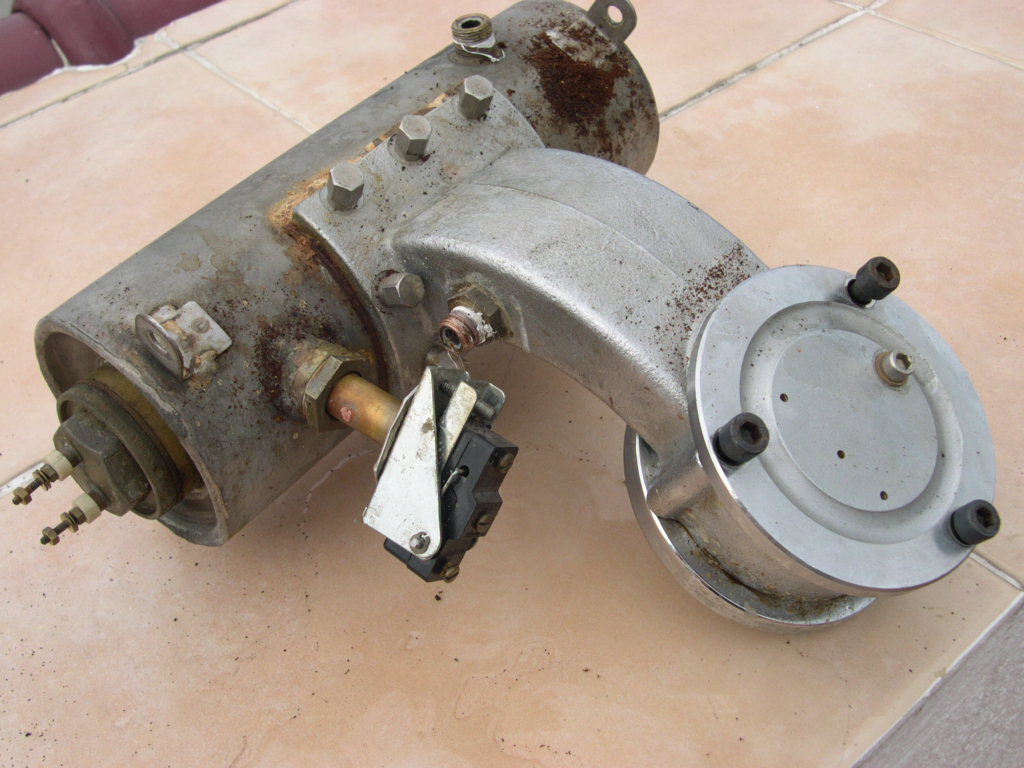
4. Strip down components
Stripping down components is a must because it allows you to clean them properly, inspect them for wear and tear
and really do a thorough job.
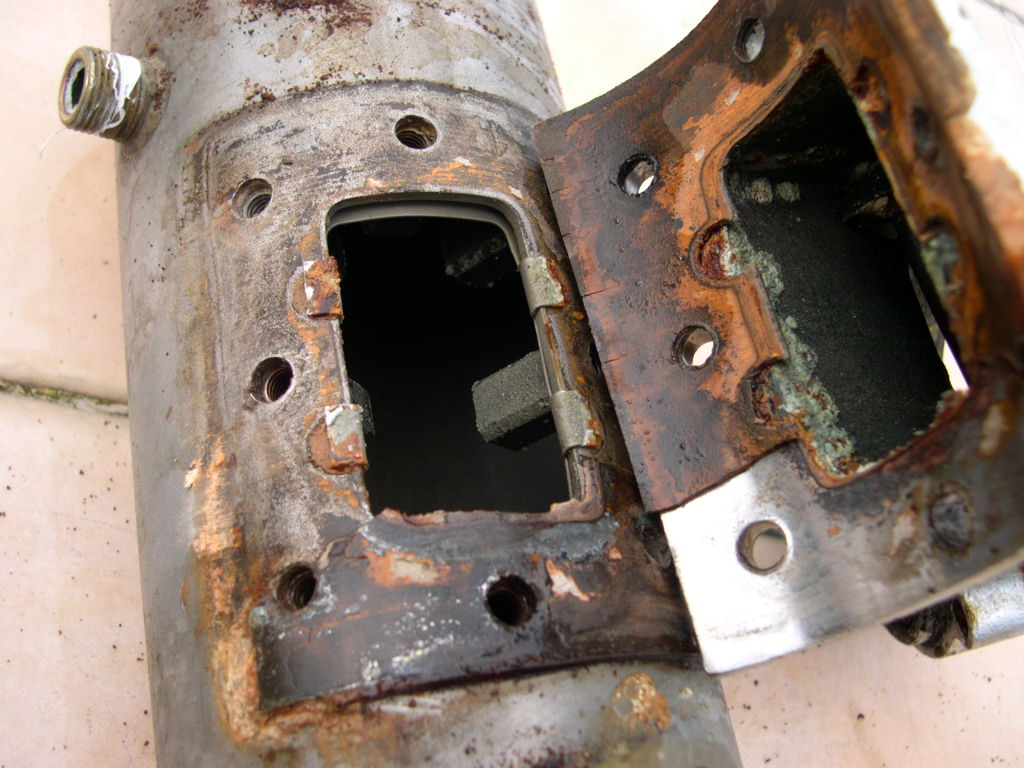
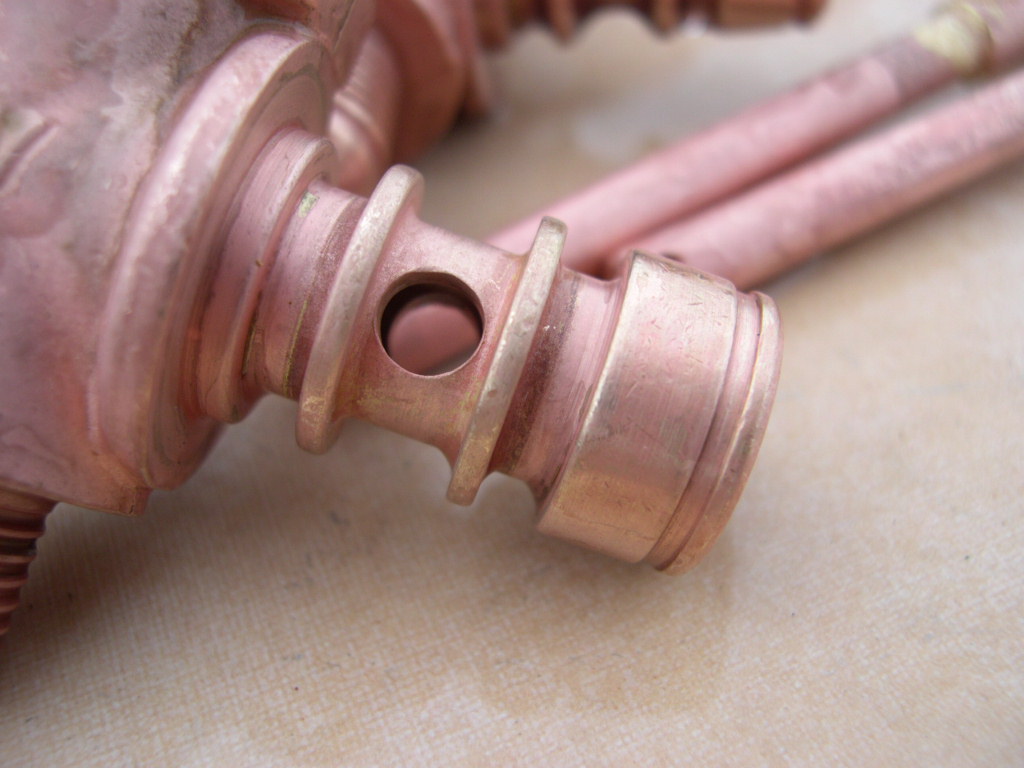
By this stage the machine is 100% dismantled. It is only then that you are in a position to determine what exactly
you will require in terms of new replacement parts. For example the picture above shows a group bayonet ring on a
Marzocco machine. The both heads looked new, only by taking them out does the true picture emerge. If I had
ordered parts before completely stripping the machine down I would be in trouble and would have to do another
parts order.
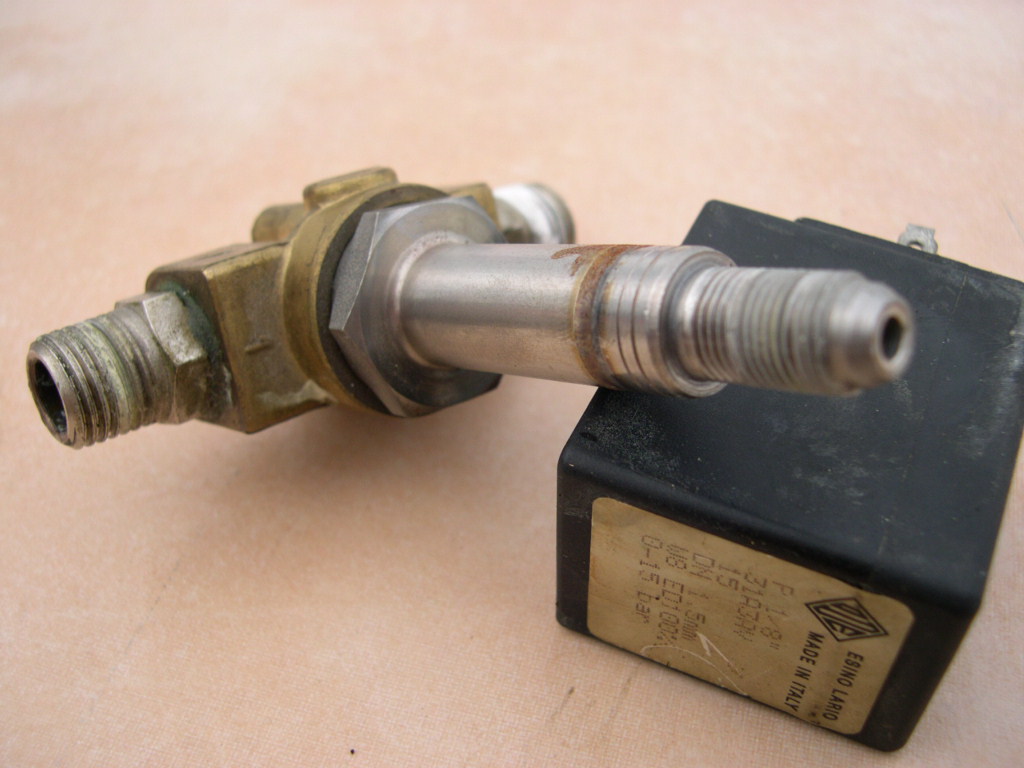
6. Cleaning before descaling.
You cannot descale some parts with first cleaning them thoroughly and removing all gaskets and o-rings.. For
example the steam valves by their very nature will have a lot of lubricant inside. You cannot get this part clean
without first removing the grease and oil. What I usually use is an engine block detergent and then clean with
brushes, toothbrushes and plenty of running water. Any o-rings you come accross you will have to cut them away
since you should have ordered new ones anyway.
In actual fact to get things like steam valves and steam wands clean I now use an ultrasonic cleaning bath. Anything
I can fit inside gets put in that.
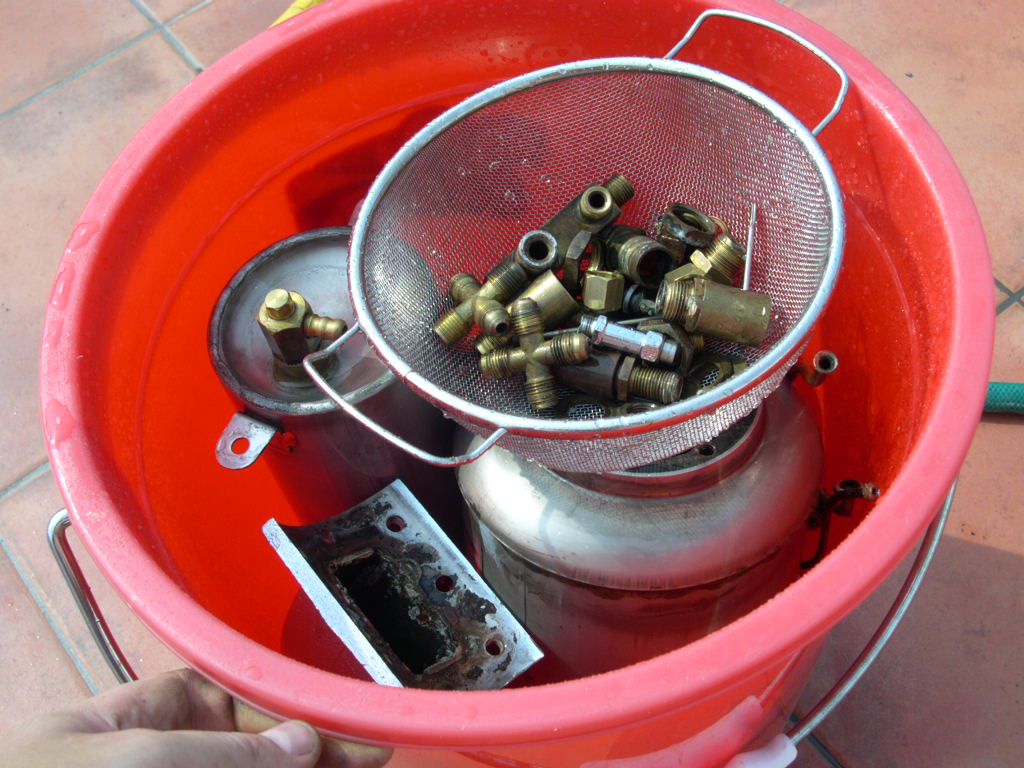
7 Descaling.
For descaling purposes I have always used Citric Acid. It may not be the most aggressive of agents but it is safe,
easy to use and readily available in the high street. What I normally do is inspect parts every several hours, clean
them and replace in the bath if necessary.
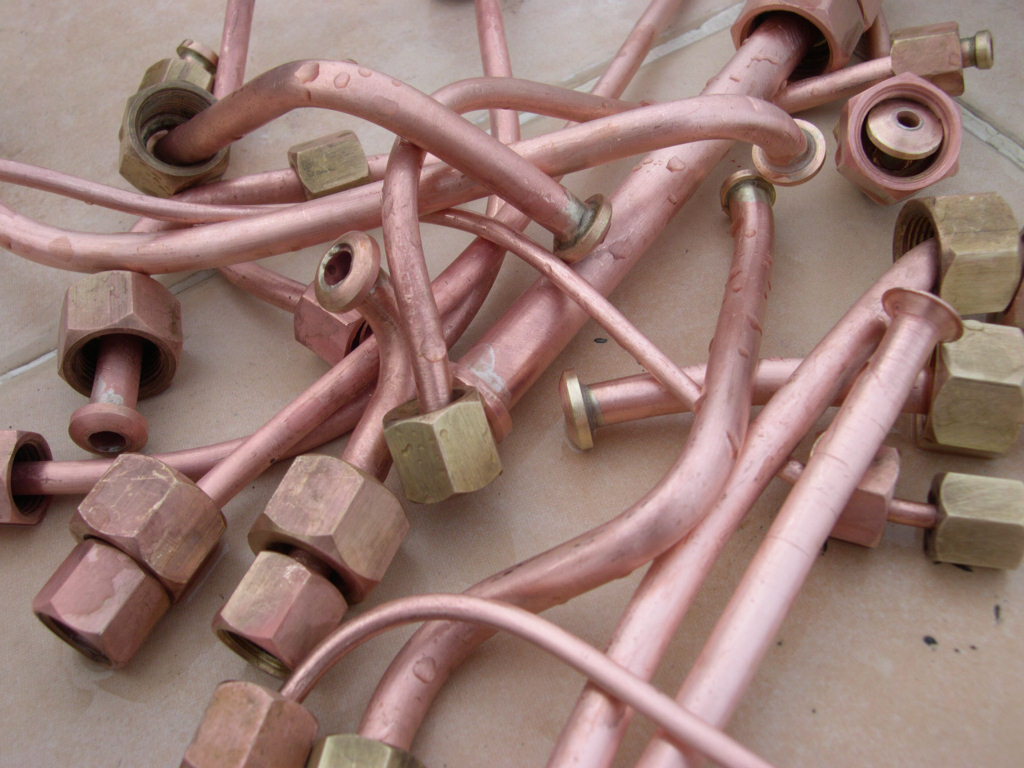
8. Checking components and pipes.
Limescale and dirt are both annoying little bas*****. Limescale particularly will find the smallest fold of metal or
corner to hide in. If you think a component is scale free, wash it with fresh running water to remove the citric acid
then let it dry out completely and then do this test. When dry fun your finger over it. If your finger has a white
flour-like powder then there is still some scale. You will need to decale again.
9. Reassembly.
You will need to start in the reverse order of the stripping stage. Most likely the wiring loom will go back first, then
the boilers, then the pipes and components. The panels you should leave off until after testing. You also want to
refer to your notes and photos to help you assemble the machine.
Refer to your electrical wiring notes especially. Safety first!
10. Final Testing
Do not switch the machine on yet! Check the wiring again, and then again. Take a 5 minute break to clear your
head and then check the wiring again. Safety first. When you are 101% sure the wiring is OK, plumb the machine
in. Now plug the machine in and switch to the `fill` position. Check for leaks and make sure the autofill works.
Switch to `run`. Check all components and check for leaks at working temperature.
Unplug and let it cool down the room temp. Re-tighten all fittings, especially heating elements and groups. Drain
the boilers to remove any scale that may have been dislodged during the expansion and contraction of heating and
cooling.
safety guildelines
will say yes, but please ask first!
Email me here.