The Espresso Machine Restoration site
A non-commercial site for those interested in espresso equipment repair and restoration.

Frame has been stripped of paint an rust and been re-finished.
Boilers, groups, pipes have been "descaled".
All original chrome parts (group, bayonet ring, steam valves, steam wands etc..) have been re-chromed.
The manual group has been stripped, cleaned, refinished and rebuilt using new gaskets.
All steel panels have been re-polished back to original finish.
A new and complete wiring loom has been done.
"Upgrades" done...
Wiring system in line with current spec Lineas.
Added a PID brew boiler controller.
Current spec CEME pressure switch on steam boiler.
Safety reset thermostats on both boilers in case they overheat.
Added a vacuum breaker valve to steam boiler.
Added a certified 1.8bar safety valve to steam boiler.
I was rather pleased with the way the vacuum breaker and safety valve finished up. There was originally only 1
fitting which was for a 1/4 inch safety valve. I was never going to re-use that safety valve and was always going to
use a new one which is 3/8 inch, and I really wanted a vacuum breaker in there so that the machine can be switched
on without having to bleed the steam boiler manually. The safety valve could be mounted almost anywhere next to
the steam boiler but the vacuum breaker was different proposition.
The vacuum breaker is a small valve that is open when the machine is off. When the machine is heating up the
valve remains open until there is sufficient pressure inside the boiler to close it. What this means is that it enables
the initial pressure to be released - otherwise the pressure valve will switch off at a false pressure. Then I was faced
with where I could find a place to put it. The best way was to fit it directly into the vacant 1/4 inch fitting left by the
old safety valve but then I would have no free fittings left to connect the new safety valve to. So the solution was to
insert a tee and then run the safety valve and the vacuum breaker off from there.
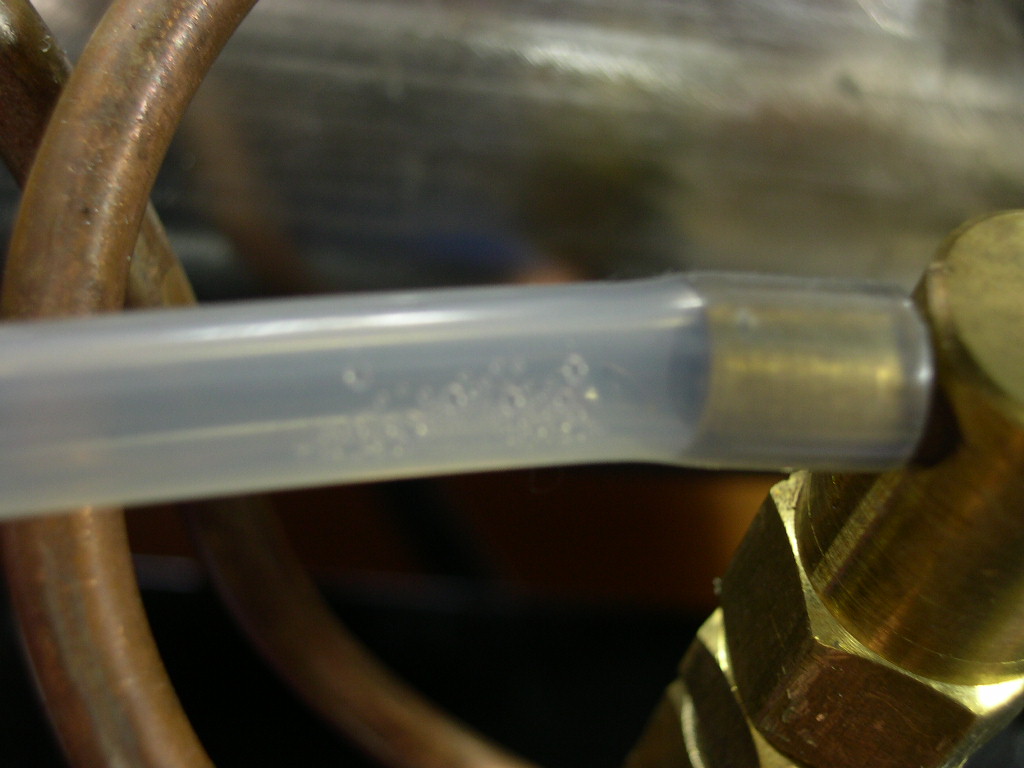
Because the vacuum breaker was low down relative to the position of the top of the boiler I knew that when it was in
the process of closing it would release a fair amount of water. The solution was a very nifty vacuum breaker that
some CMA machines use. It has a cover and a drain fitting that prevents steam and water going back into the
machine when it is heating up. So what happens is that when the valve is closing, the steam and water that is
released is captured by the cover and travels down the silicone hose directly into the drain tray. Very cool and it
means no fear of any shorts from moisture inside the machine.
Polished the group body within an inch of it"s life and had it re-chromed (originally only the front half was polished)
Had the back of the sight glass body chromed (originally unfinished brass)
Had the steam boiler end plate chromed (originally unfinished brass)
Had the steam and water tap bodies chromed (originally unfinished brass)
So here you see version 1 and the machine isn't yet complete but looks stunning. But for me it isn't quite balanced
because the plastic cup rail is missing. Also if you see the portafilter handle is new, the original ones were being
cleaned at this point.
And the first shots....
The cup rail has been completed and turned out very well in the transparent brown. Without the cup rail the front of
the machine always seemed a bit unbalanced but now it has great proportions.
It has been over 1 week now since the machine has been making coffee and steaming milk and it has performed
very well. I had one small steam hiss today which required a boiler fitting to be tightened slightly but apart from that
no problems whatsoever. I'm still playing with the brew temperatures because the manual group does exactly what it
is supposed to do - it delivers water onto the coffee at the same temperature as the boiler. It's a big deal because
usually the boiler temp. and brew water temp. are not equal, not equal by many degrees.
There are a couple of things to sort out such as rebuilding the original pressure gauge and putting that back in and
there is a logo badge that goes onto the plastic cup rail which suffered the same fate as the pressure gauge - I
forgot all about it.
Hmmm the jury is still out on whether this is going to stay or not.
I'm glad I had a lot of the plastic rails made because I had to drill holes into this one to fix the badge to. The addition
of the badge changes the whole personality of the machine. Without, it's quite understated like a Mark II Jaguar, but
with the badge it becomes a bit too flash, maybe one of the later E-types.
I will say yes, but please ask first!
Email me here.