The Espresso Machine Restoration site
A non-commercial site for those interested in espresso equipment repair and restoration.

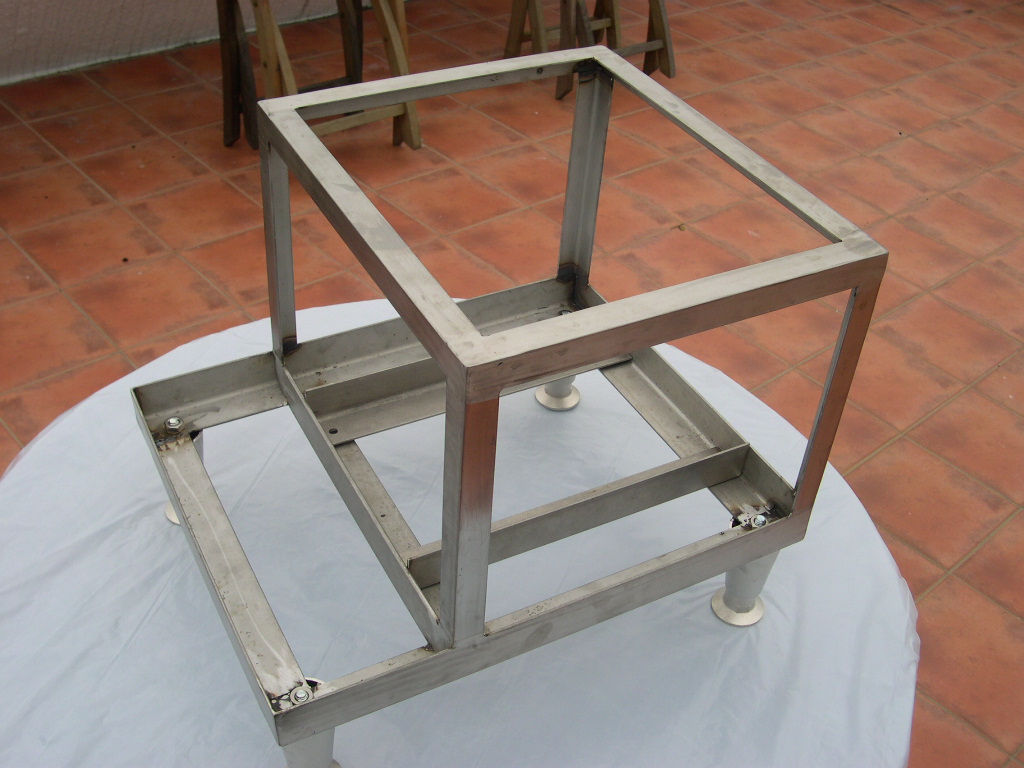
Building a machine from scratch had been nagging away at me for a few years now. So around April this year I
finally found time to start work.
What prompted me to do this? I can`t really explain in one sentence why I spent the time to build a machine but I
just felt that it was something I had to do. I wanted to make something that was a little different than machines you
would normally find and I wanted to make something that would be a great working tool. It is also safe to say that
the Italian equipment manufacturers have been a little slow to respond to the growth in the `Prosumer` market
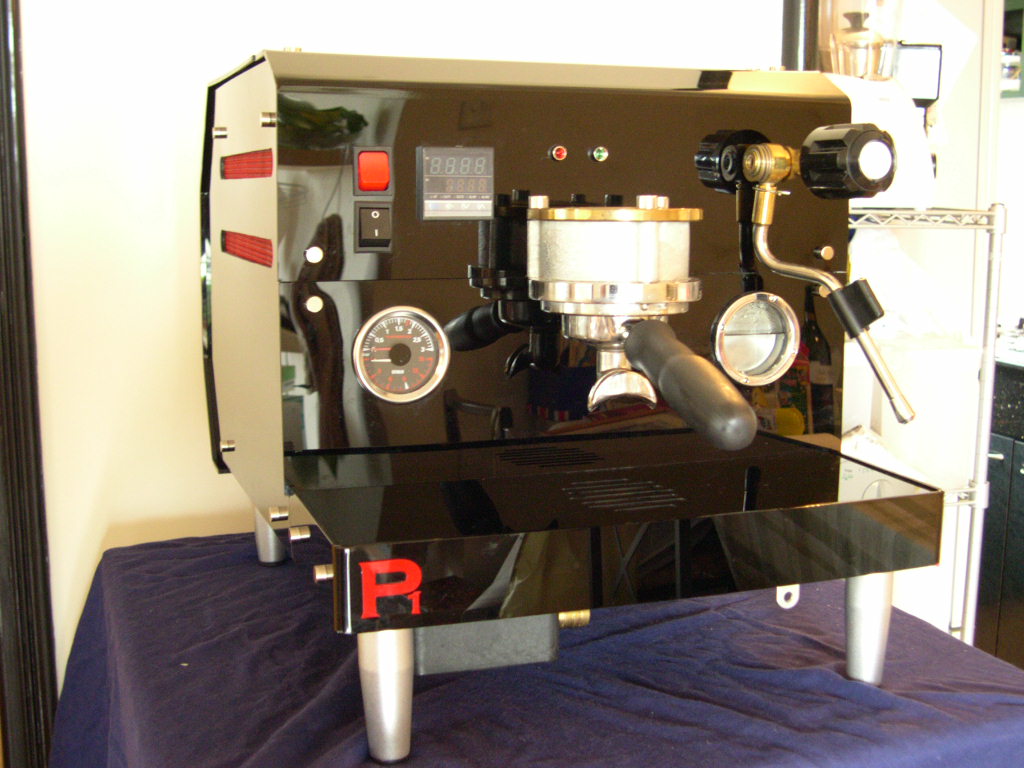
technology-wise. So this little machine is fully loaded with new features and a few major modifications.
Originally I wanted to produce the following:
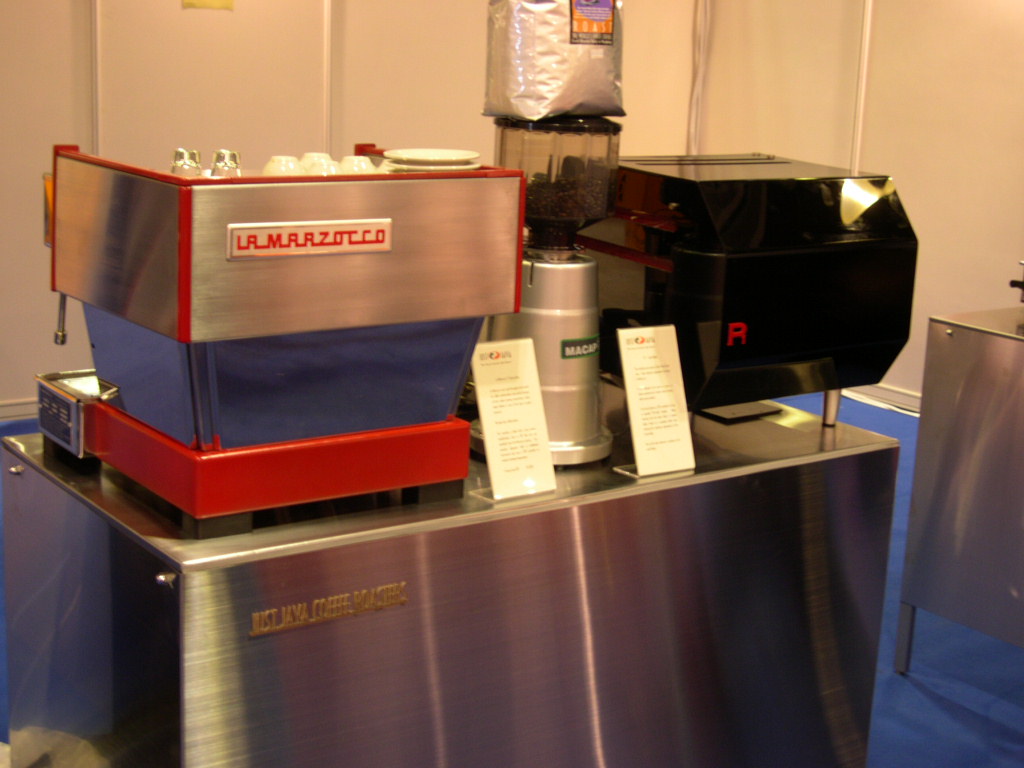
- A smaller more compact machine than a Marzocco 1 Group
- A machine that was radically different than the conventional designs
- An internal rotary pump
- A pre-heat module and PID
It was also around this time that the Versalab machine was displayed at the SCAA conference. The machine
literally blew people away with the shots it produced. Now I don`t claim in any way that this machine is like the
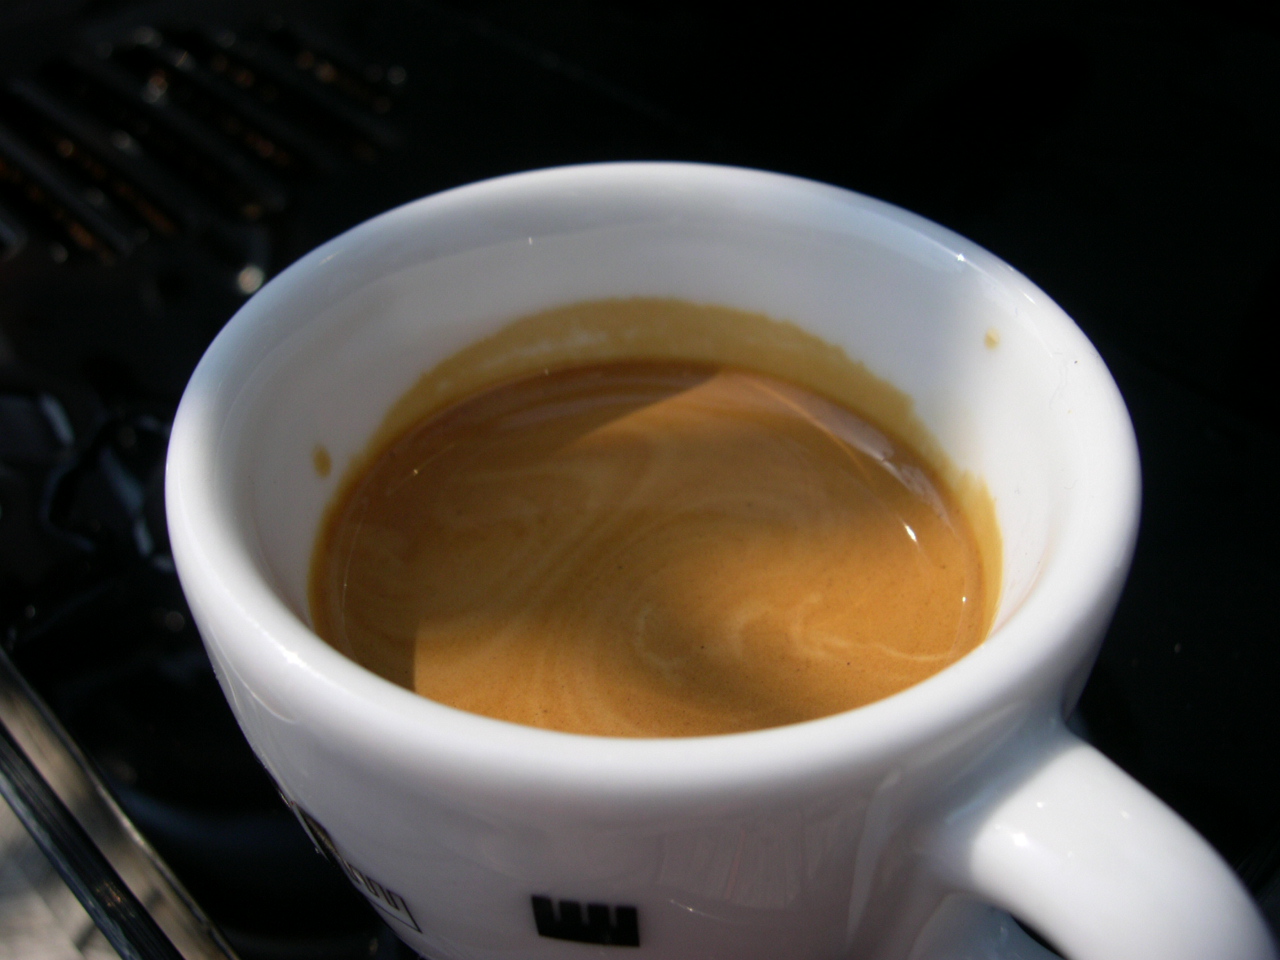
Versalab machine but it is capable of making people take note of what it can do. In all honesty it makes amazing
shots of espresso each time.


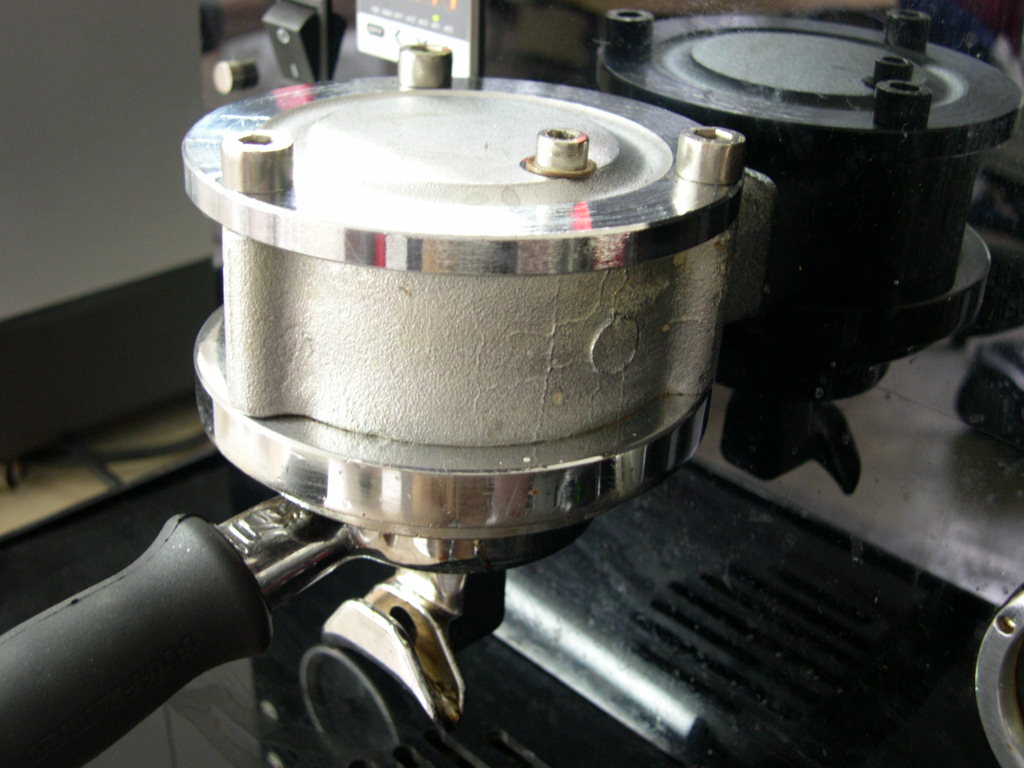
I`m afraid that for this machine I cannot display any pics of the internal components. Again I don`t claim that it
rewrites the rule book on espresso machines but it does have some of my own features, especially my
modifications to the standard Marzocco group and my component layout.
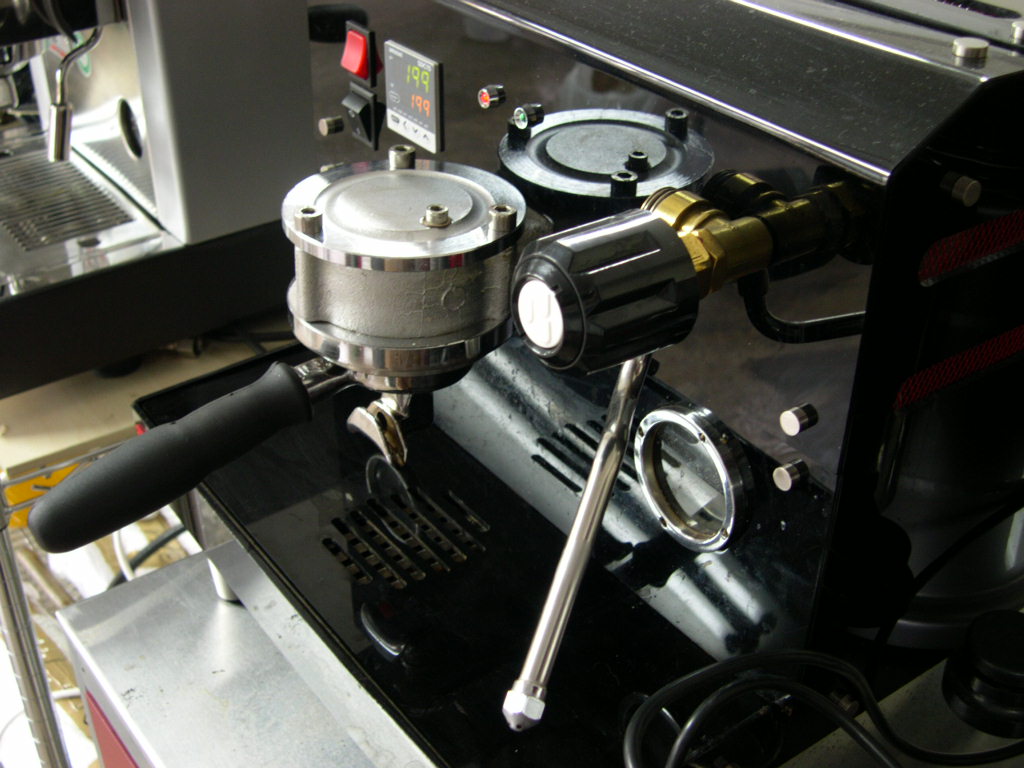
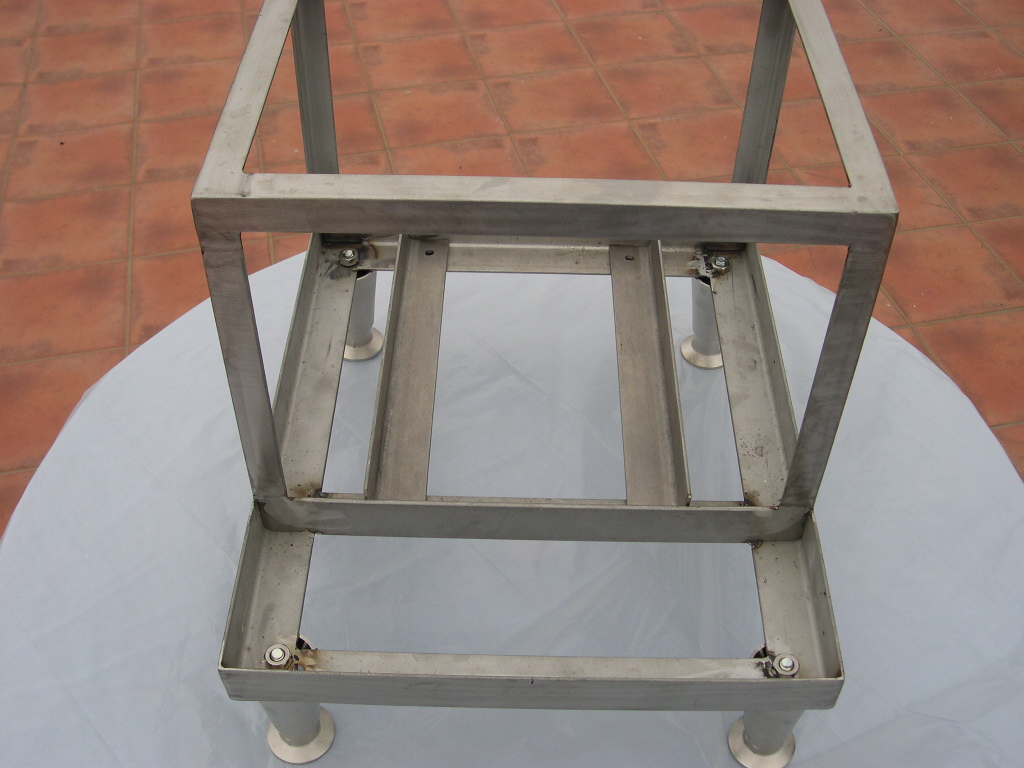
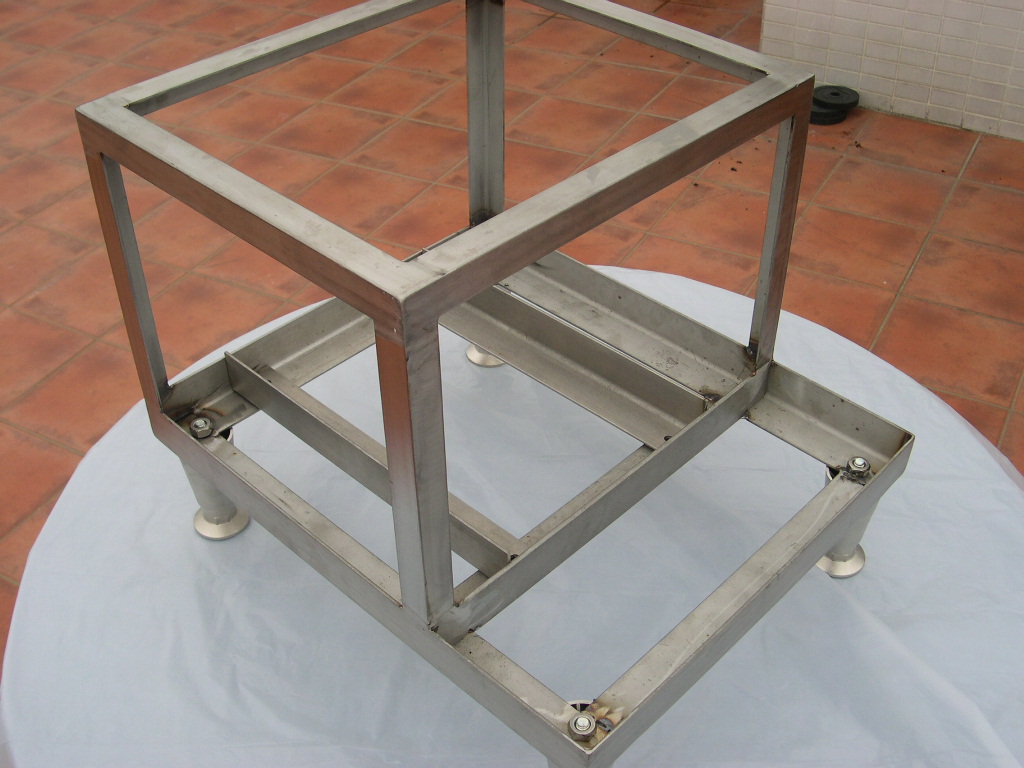
The first version of the machine was very bare. Of course I had always intended to have a steam valve but I was
still deciding on which one I wanted and how it could be done. It was originally going to be a Faema E61 valve, a
nice chromed one designed to go on the outside.


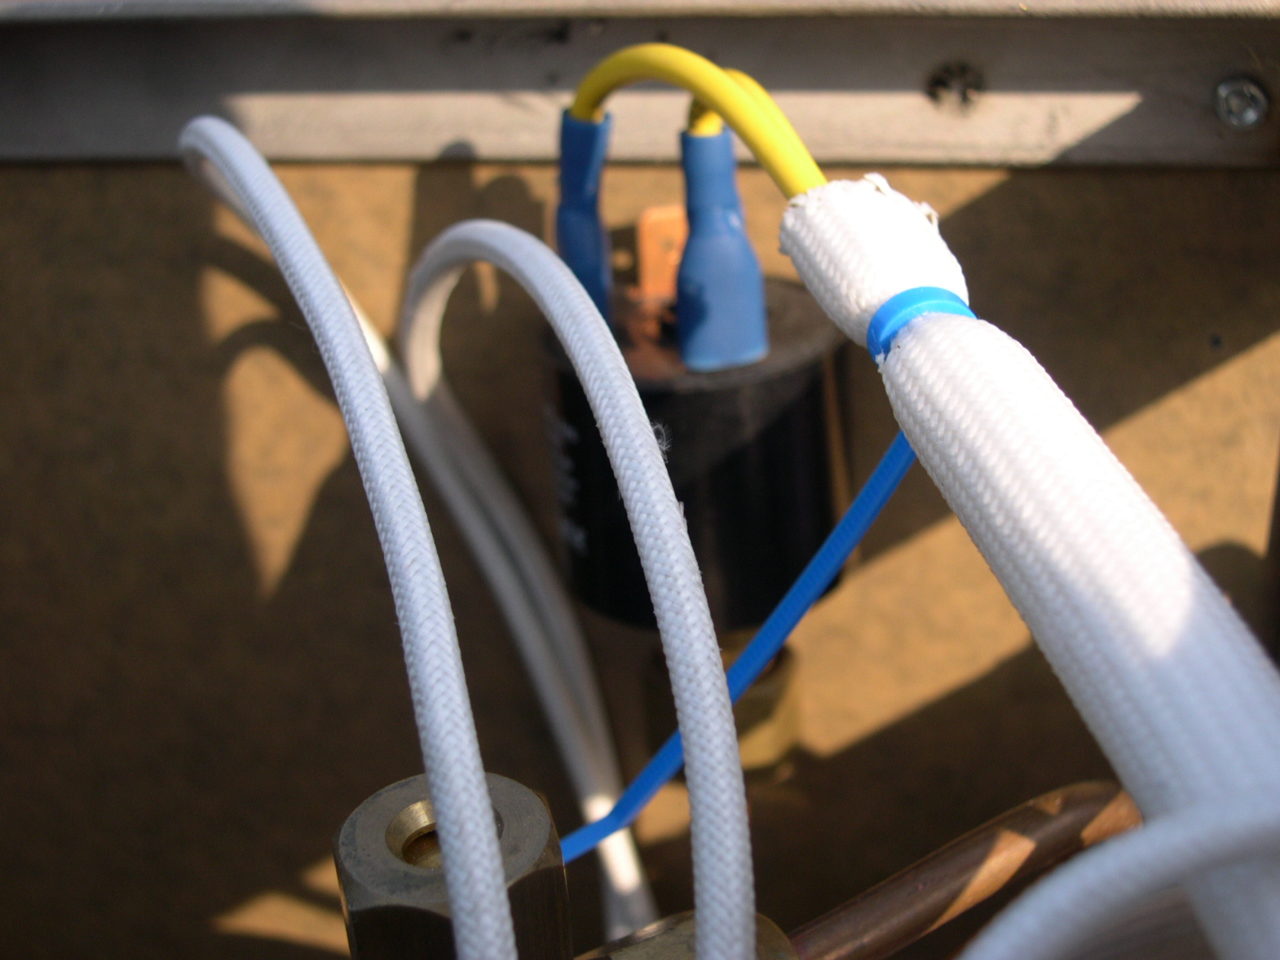
Earlier that day I had switched her on for the first time. The wiring was OK in that it didn`t blow anything! and the
relief when the autofil clicked on within a couple of seconds of turning on the main switch is something I will never
forget. There were also no leaks to adjust for either.
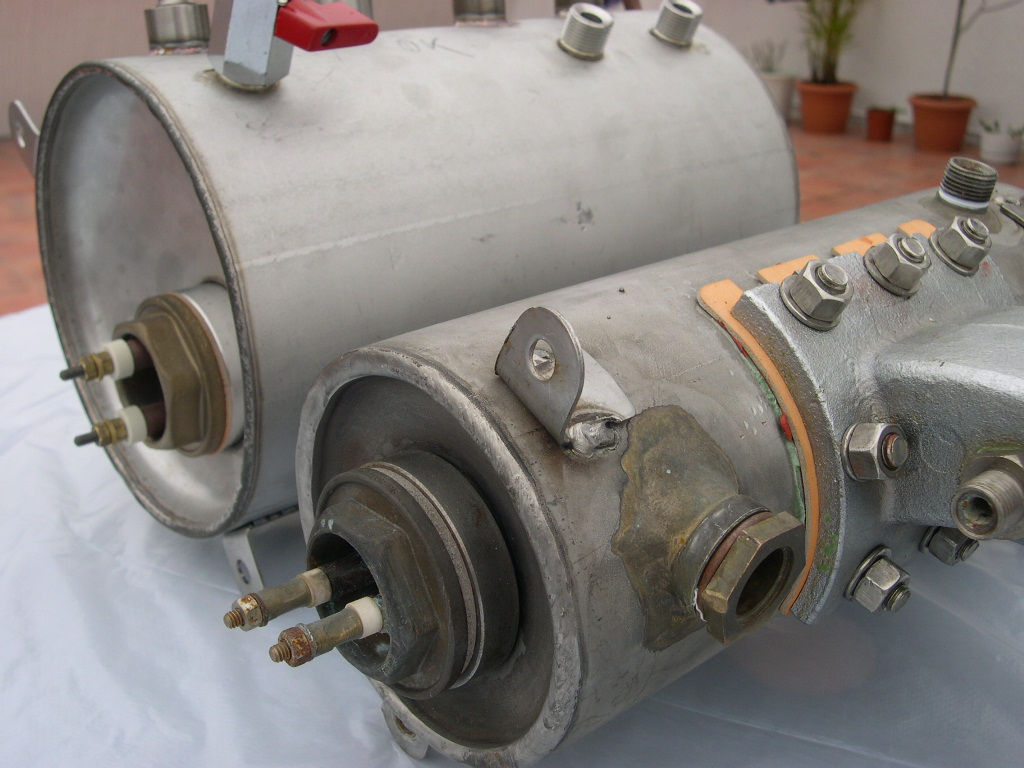
To protect the heating elements, there is an isolation on/off switch inside the machine to prevent them being
turned on with no water inside the boilers. Once the steam boiler has filled and you have bled the air from the
brew boilers you are good to go and switch the elements on.
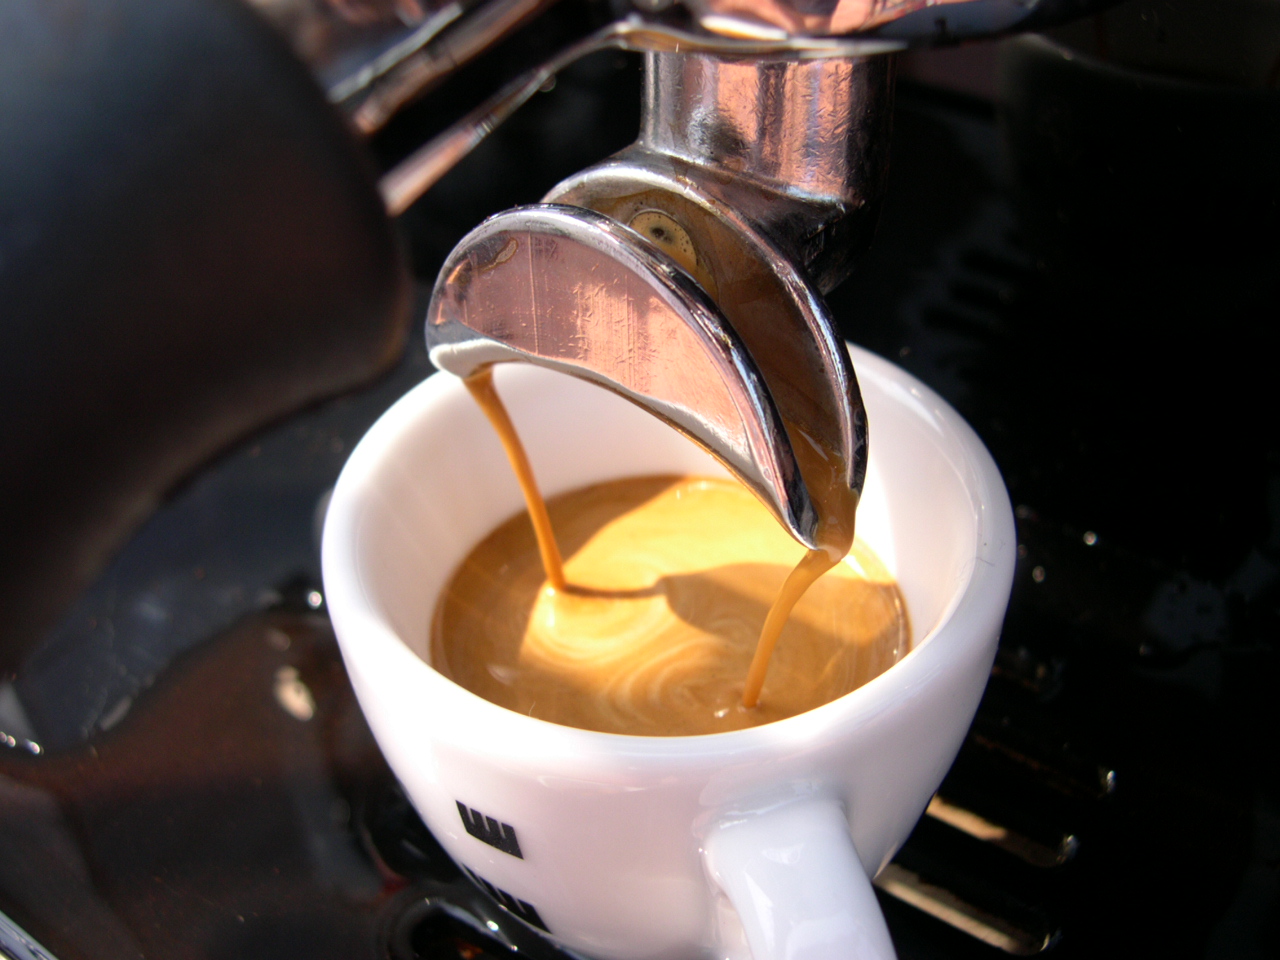
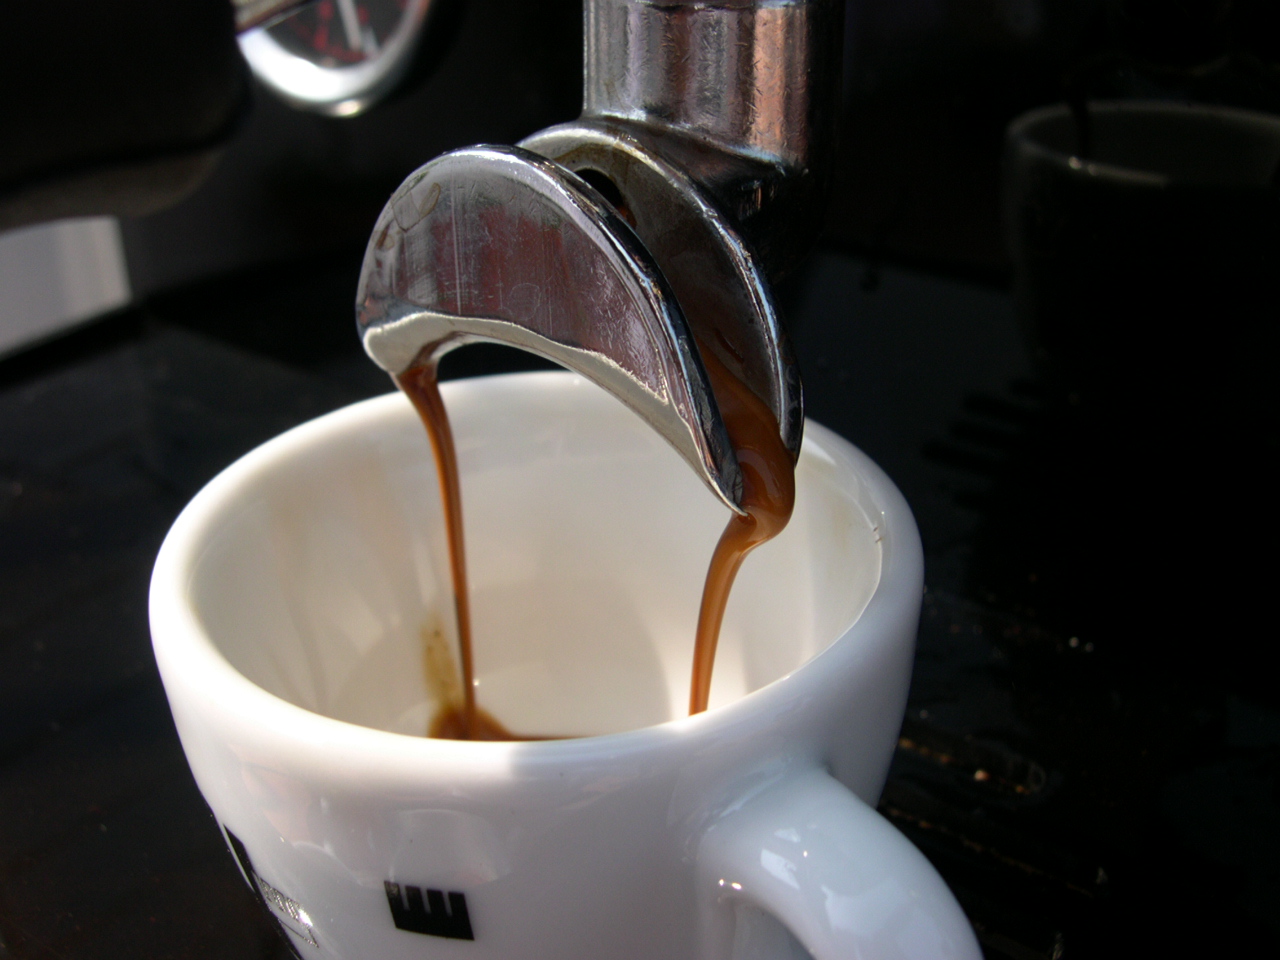
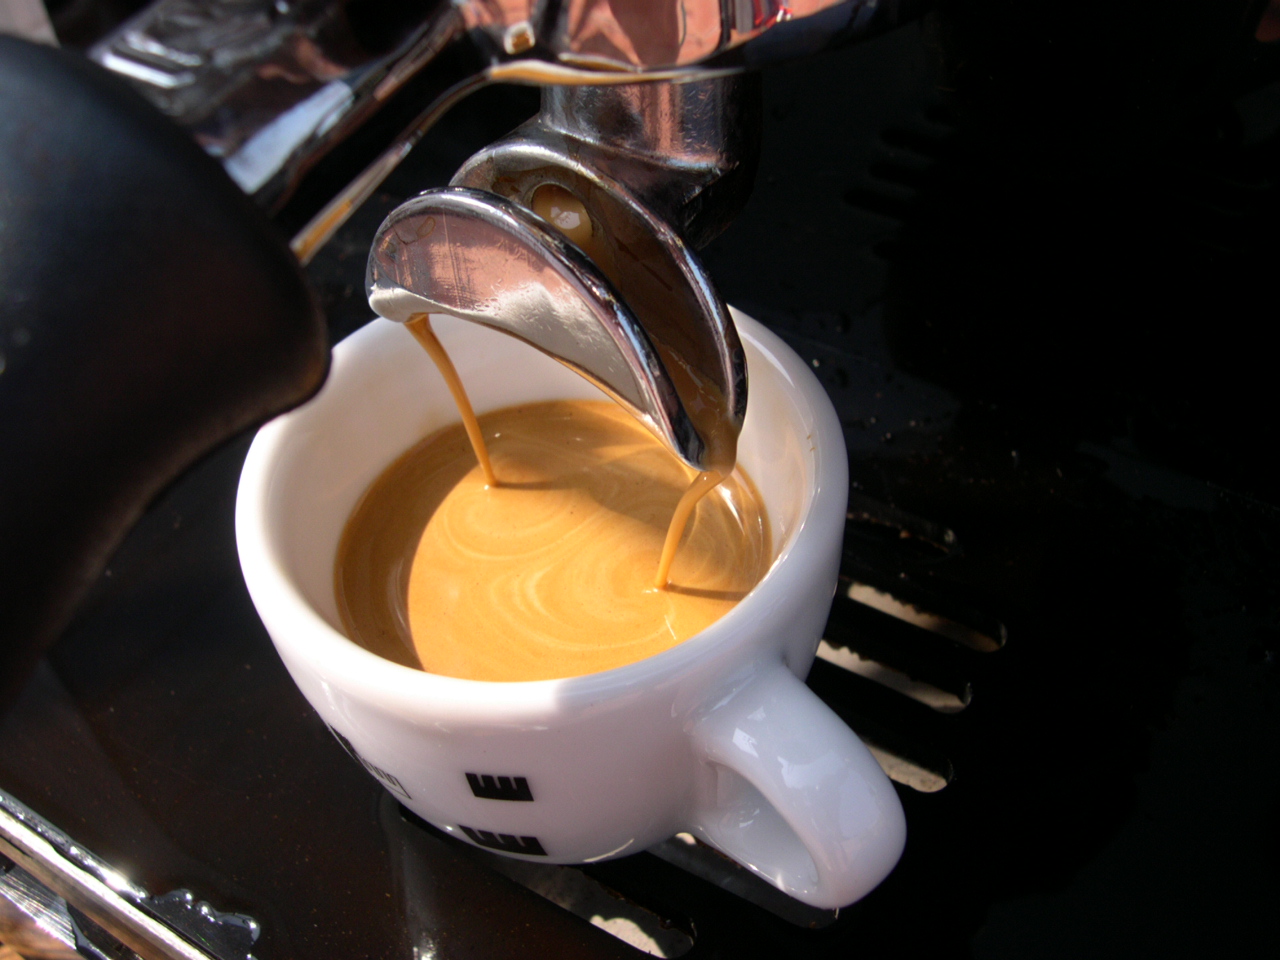
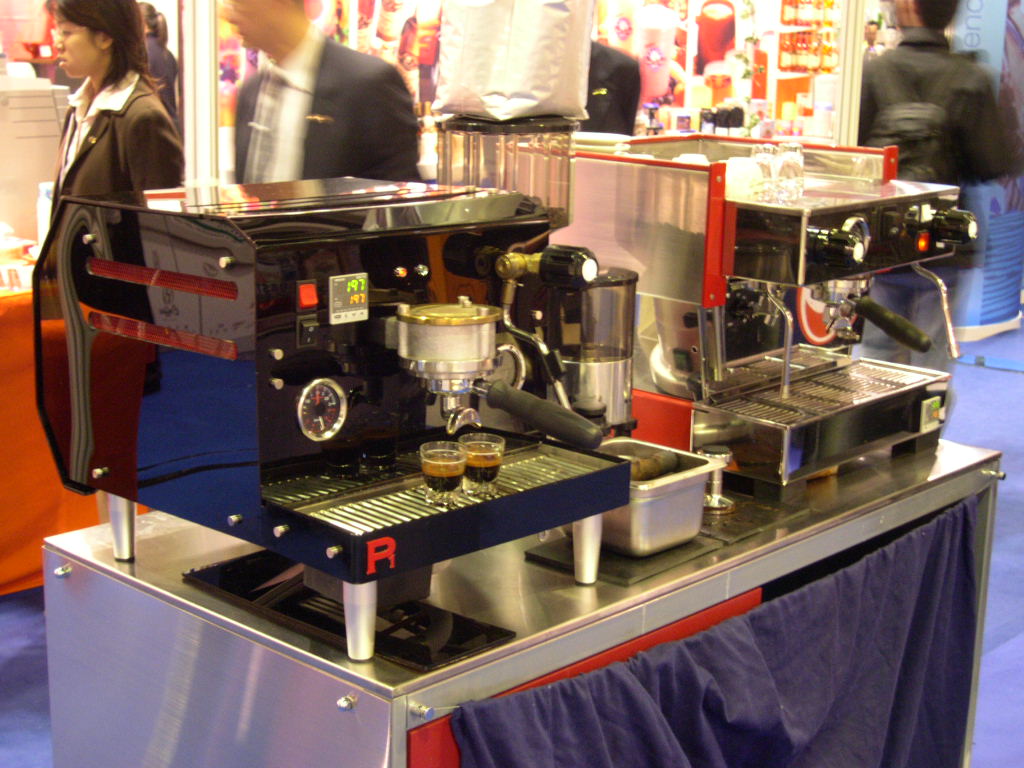
Now I really am not lying but the next pictures are the first two shots from the machine.
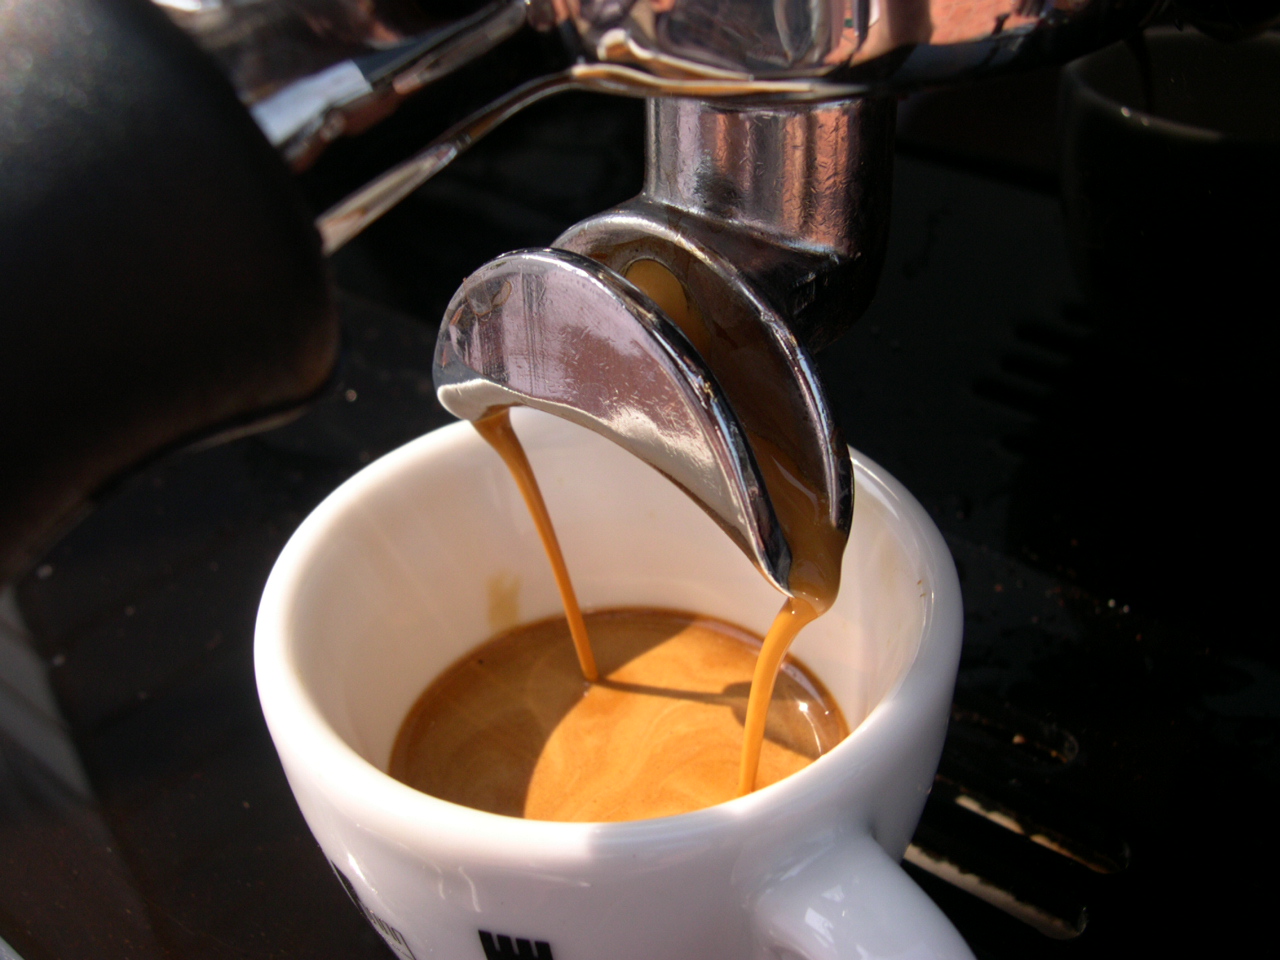
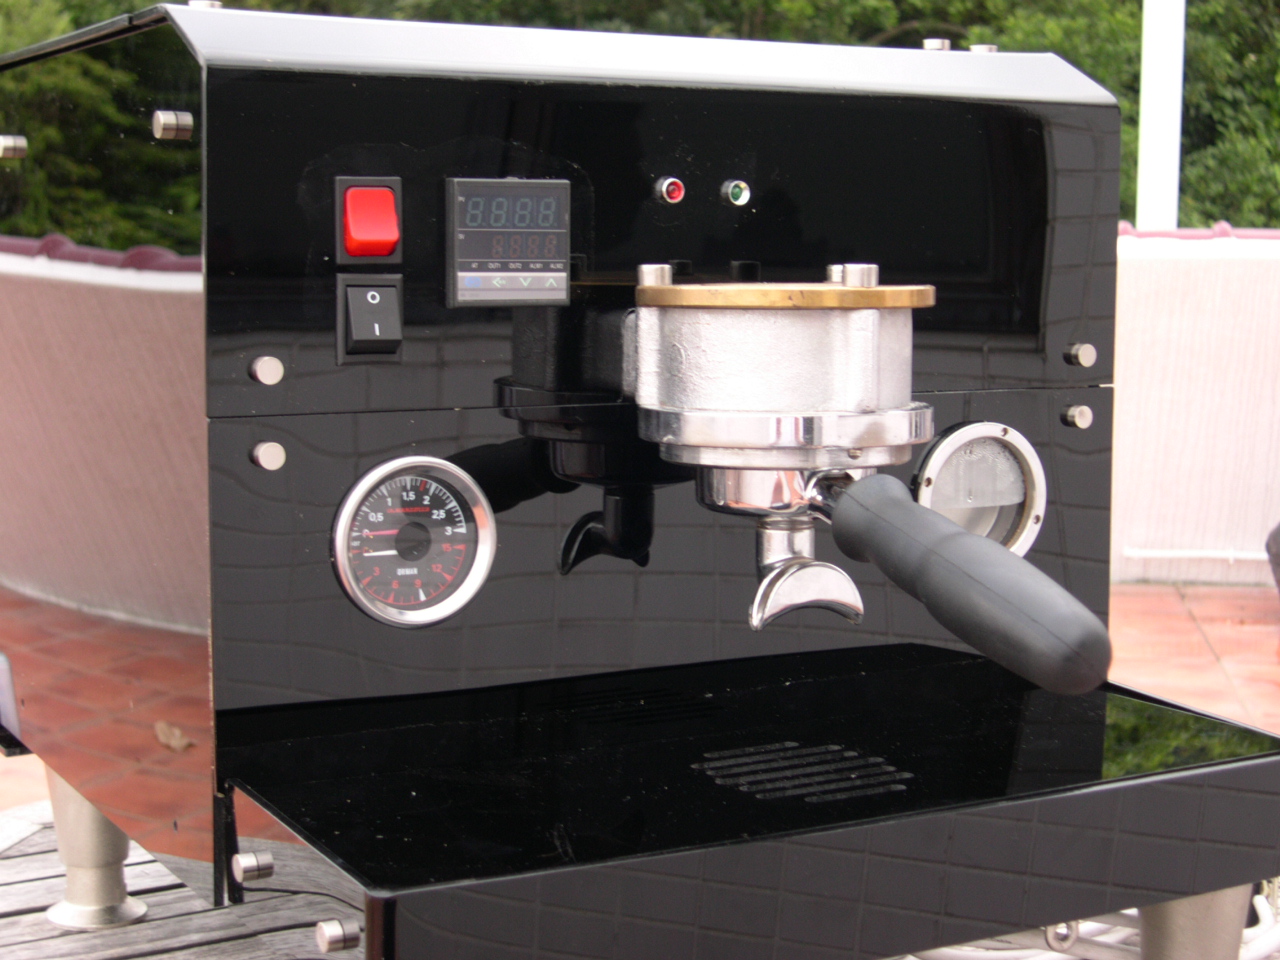
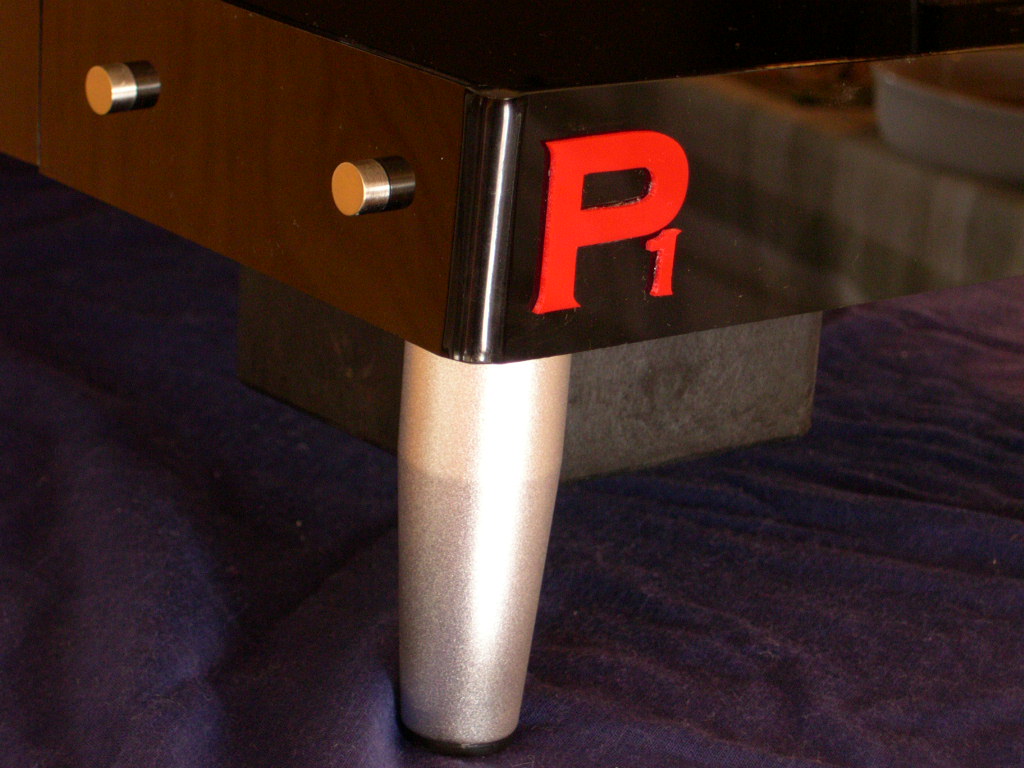
Of course the main benefit of building a machine is that you can get it exactly how you want it. For example I tried
to adopt a radical design and dispense with the traditional cup warmer on the top. Cups can be warmed but in a
different way.
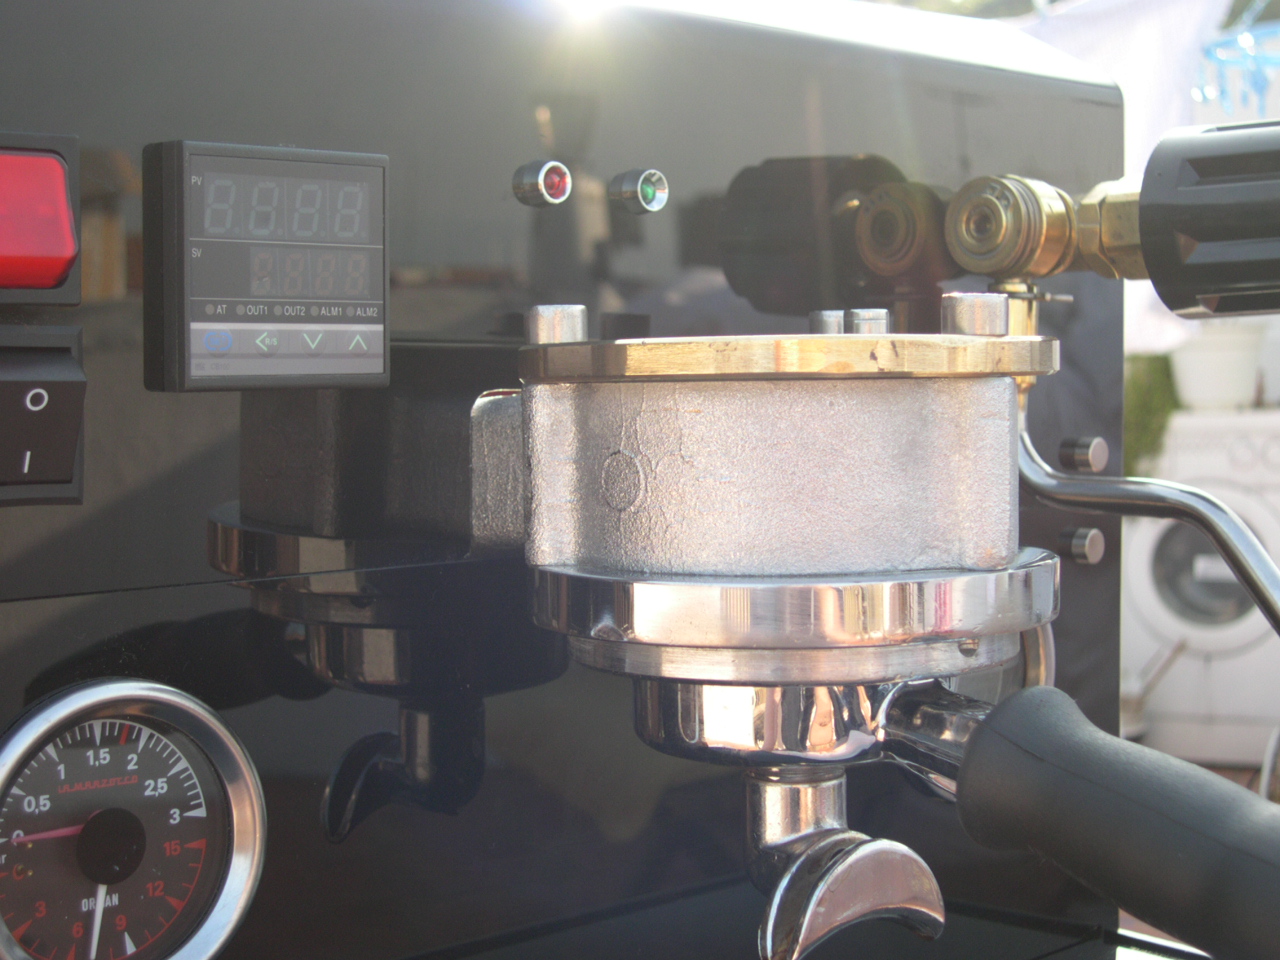
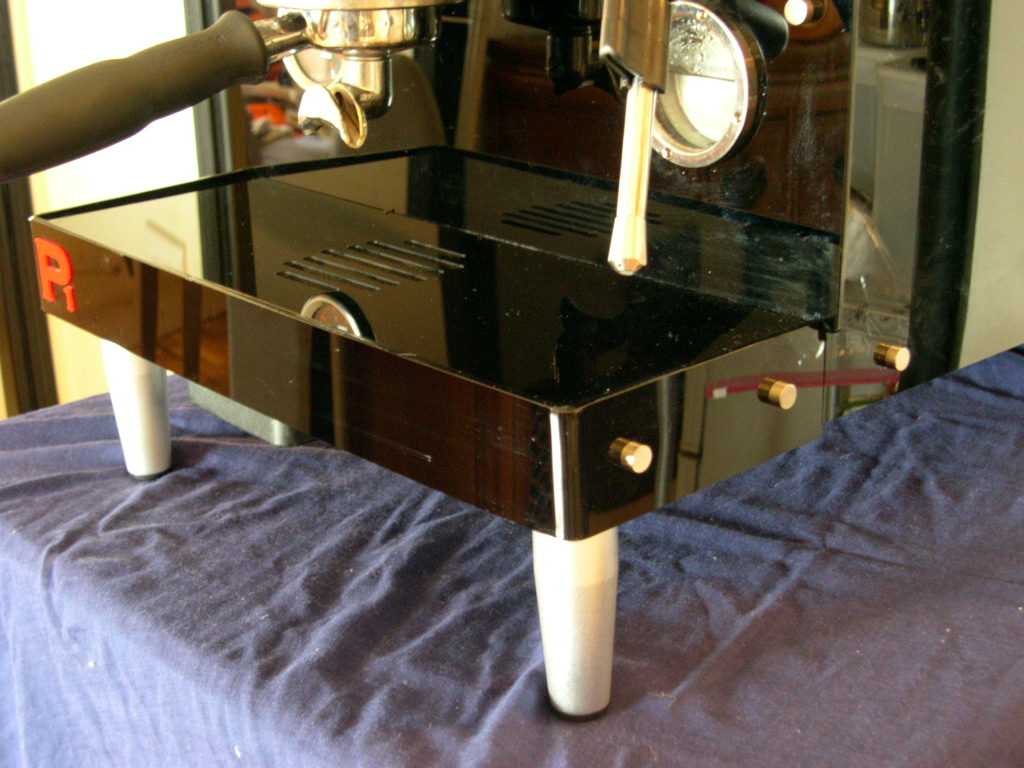
I then adjusted the height of the drain tray to the pour spout by lowering the brew boiler. This meant that I would
be able to just slip an espresso cup under the spouts to prevent the break up of the crema. In fact it is pretty tight
and even getting a shot glass under there is difficult.
I also refrained from a hot water spout. I never use one so I saw no need for one.
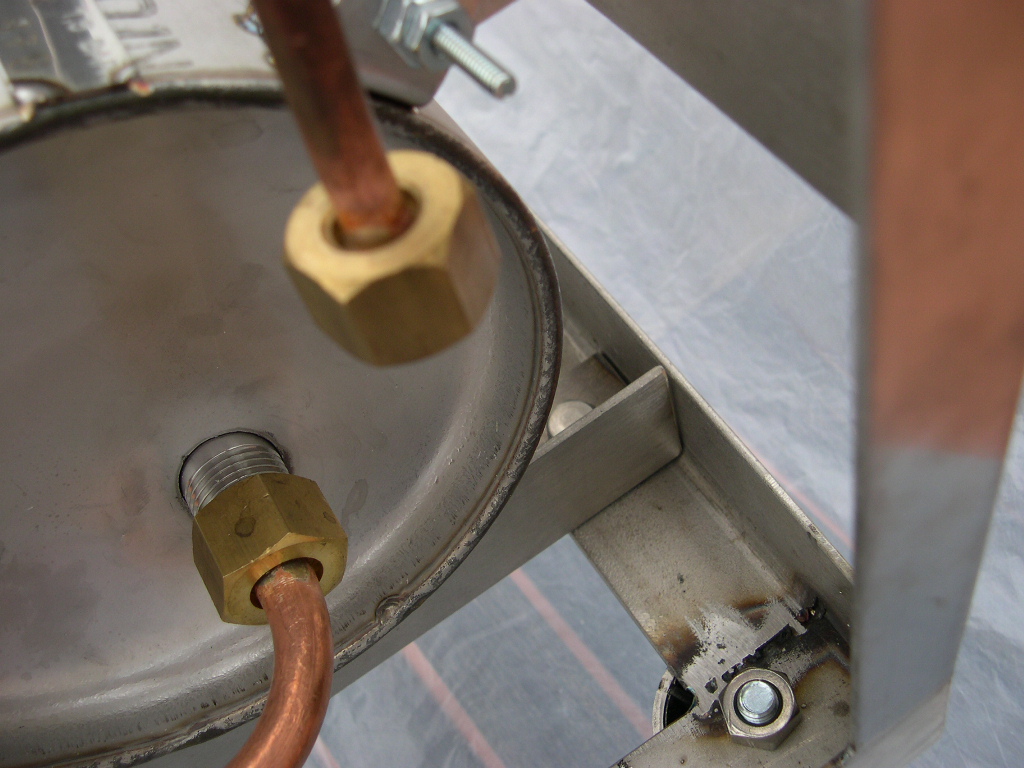
Another plus of this machine (if you are familiar with Marzocco) is that the awful drain copper pipe from the
solenoid has been eliminated and replaced with a silicone rubber hose instead. The solenoid is in a slightly
different place than normal.
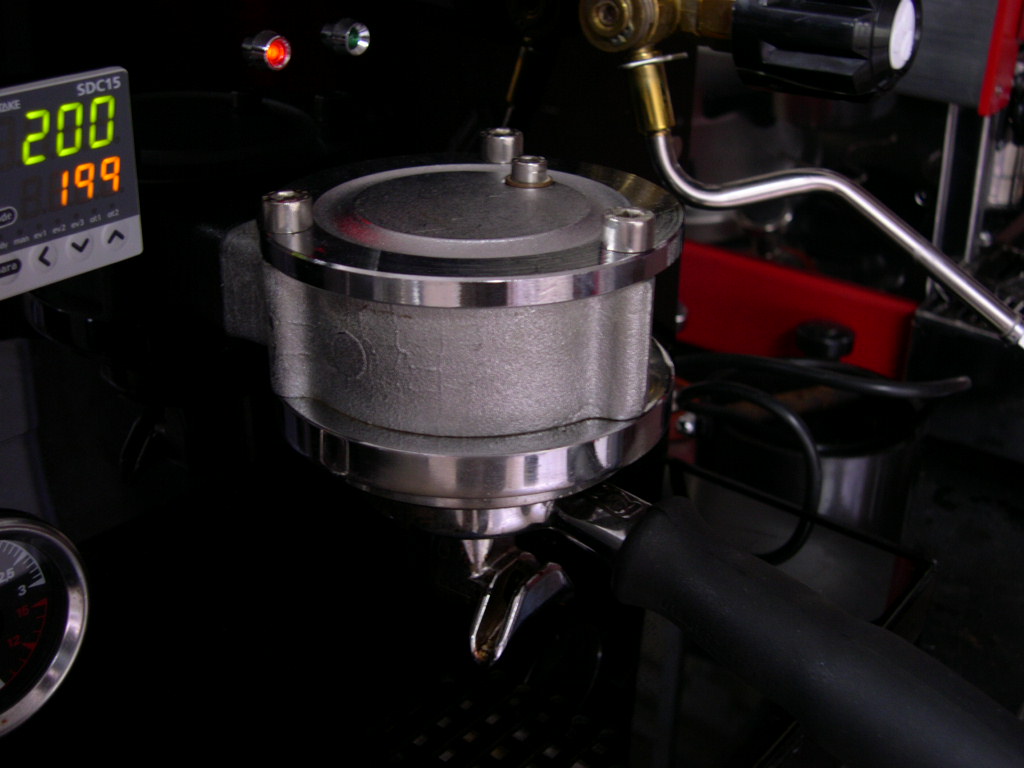
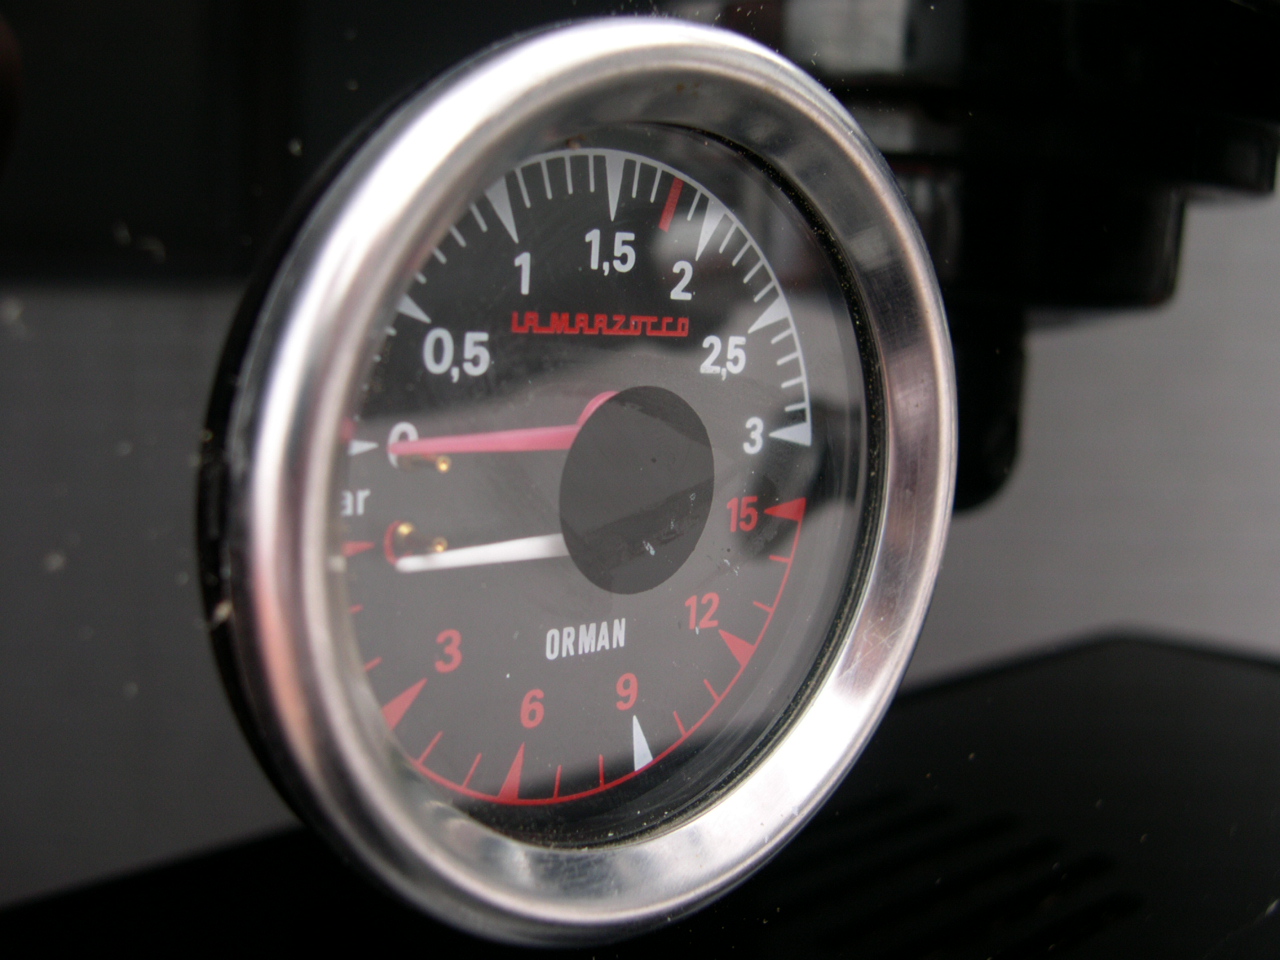
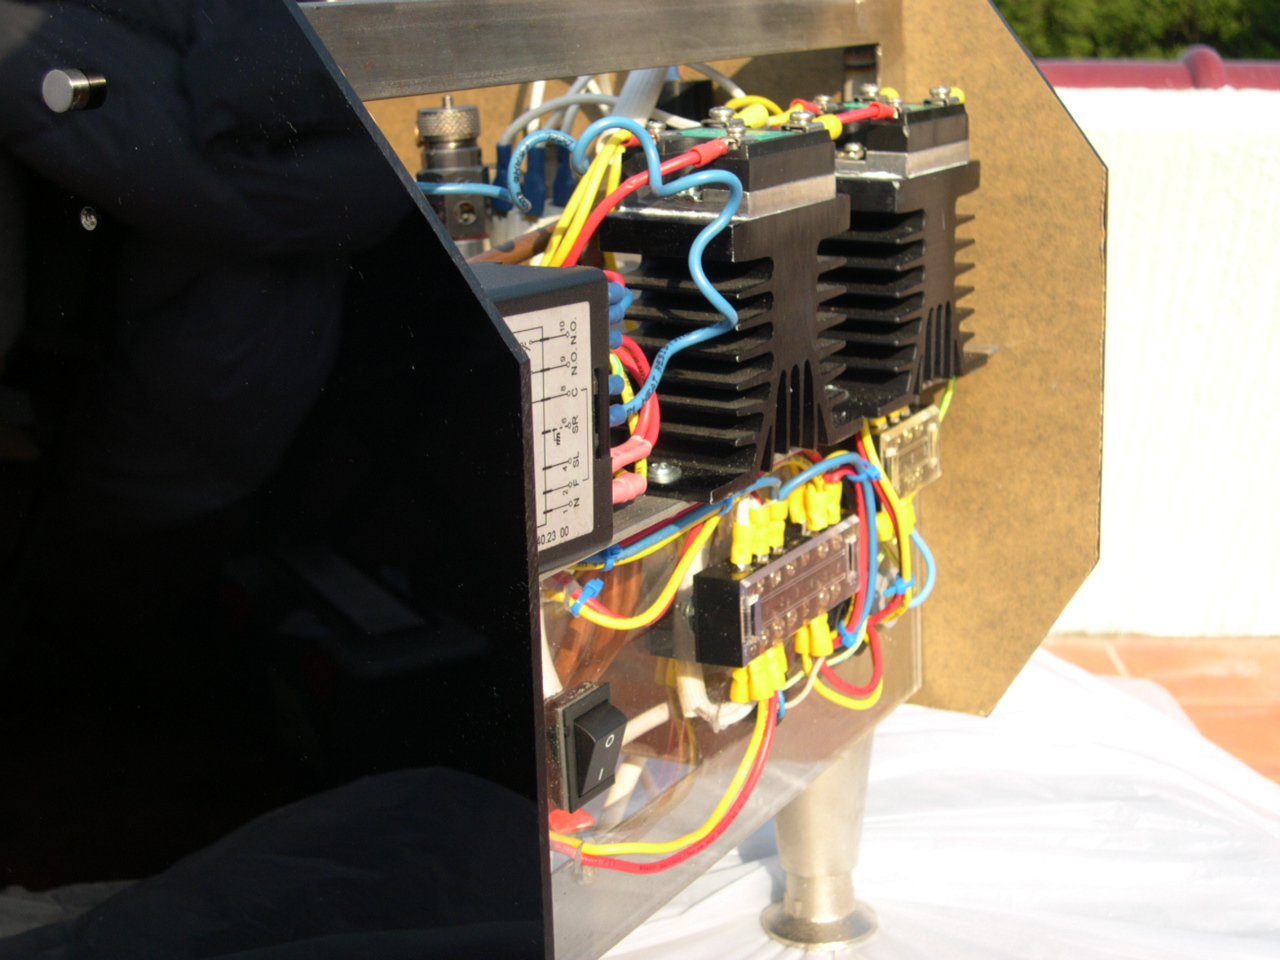
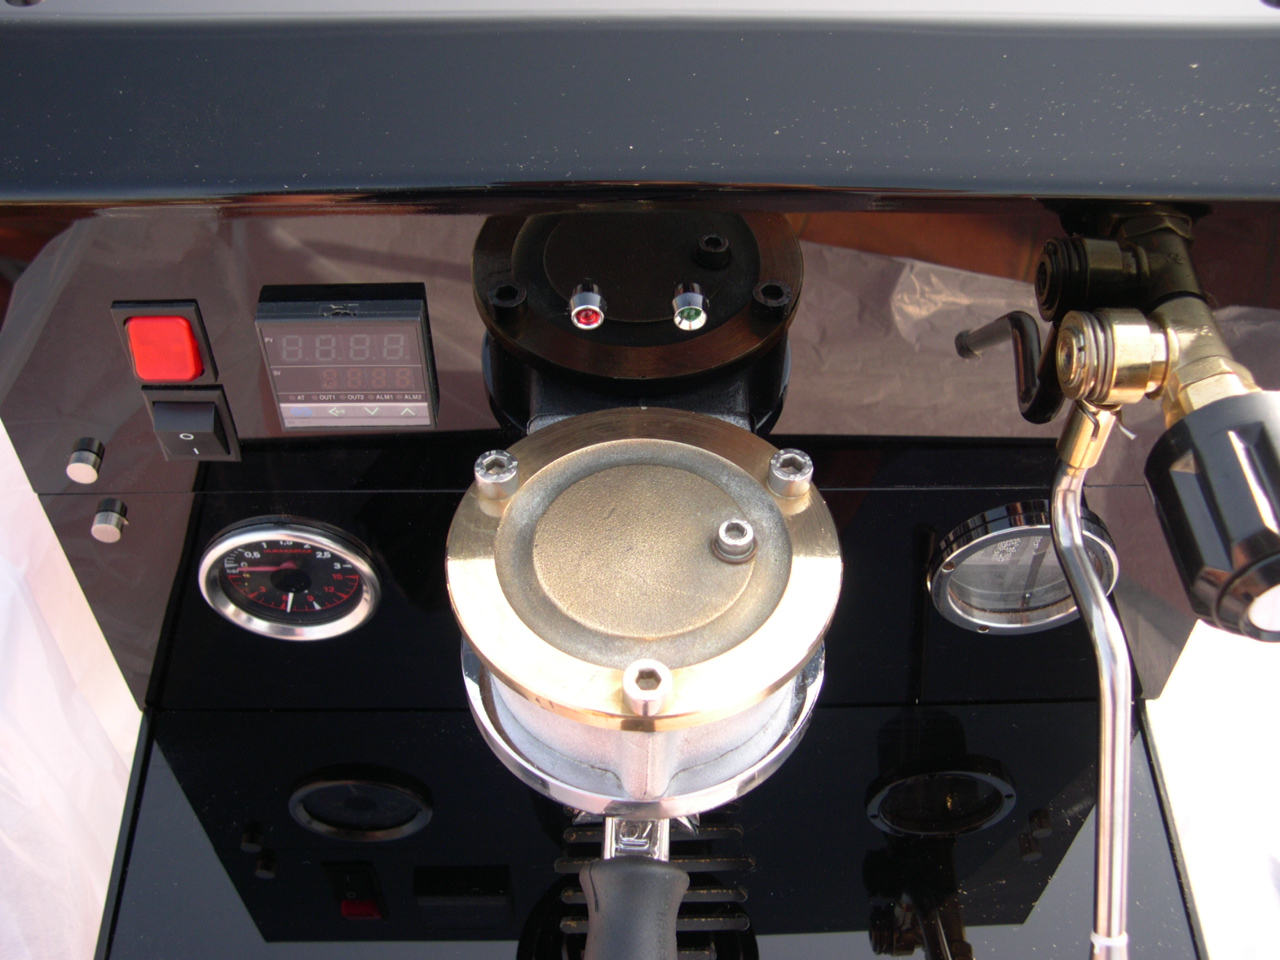
But the main feature of the machine I will say is the electronic panel at the rear of the machine. All of the
electronics are located on one panel, the exceptions being the PID controller, the Mains On/Off switch and the
brew switch which are all on the front panel. Even then I have designed it in such a way that you undo 4 simple
screws and the panel comes away in one piece allowing easy access to the group or the PID connections. It is
designed so that you can make adjustments away from the machine rather than poking screwdrivers through tiny
holes.
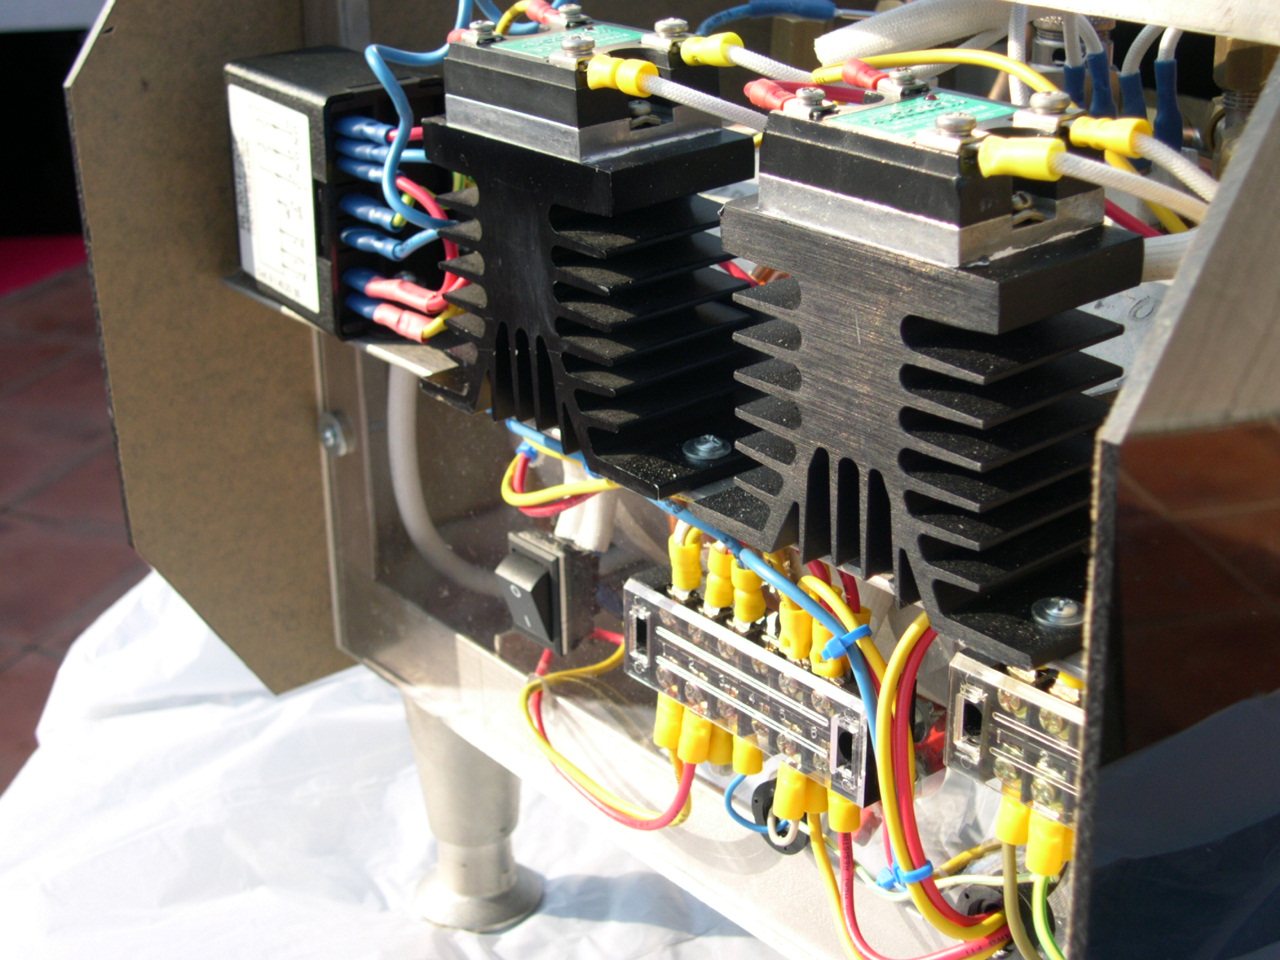
The 2 SSRs that handle the switching of the heating elements are again located on the rear panel. They are in
that position for 2 reasons. The first being for easy access and secondly to keep them cool out of the direct heat
from the boilers.
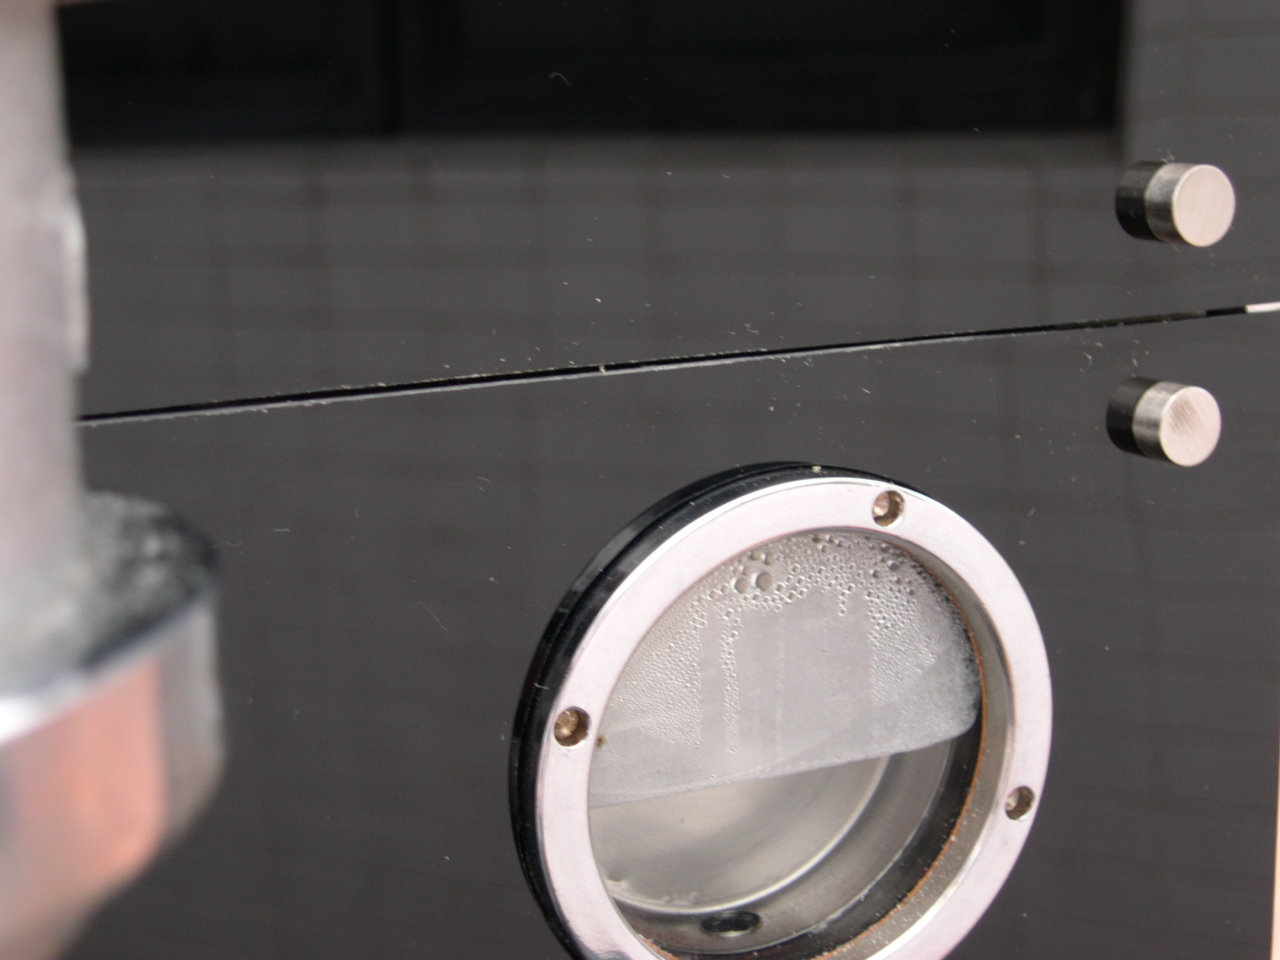
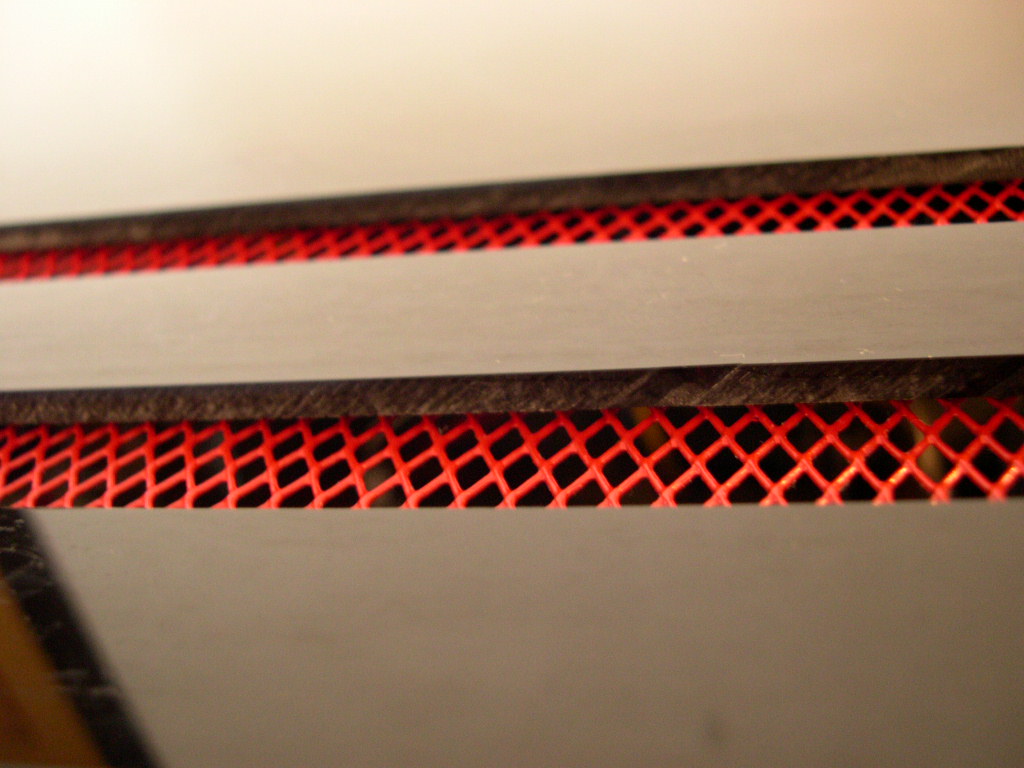
After a few days I added a few new features. My main concern was the internal ambient temperature being too
high. Because I had dispensed with a cup warmer I had also dispensed with a means for hot air to escape. In
actual fact the machine had no ventilation at all. I then had some side and top vents cut in the panels. I then
covered these vents with a red wire mesh. I then installed a small PC fan to give the PID controller some
ventilation.
The fan and the vents worked great. The SSRs were never in any danger because of those enormous heat-sinks
they are mounted on.
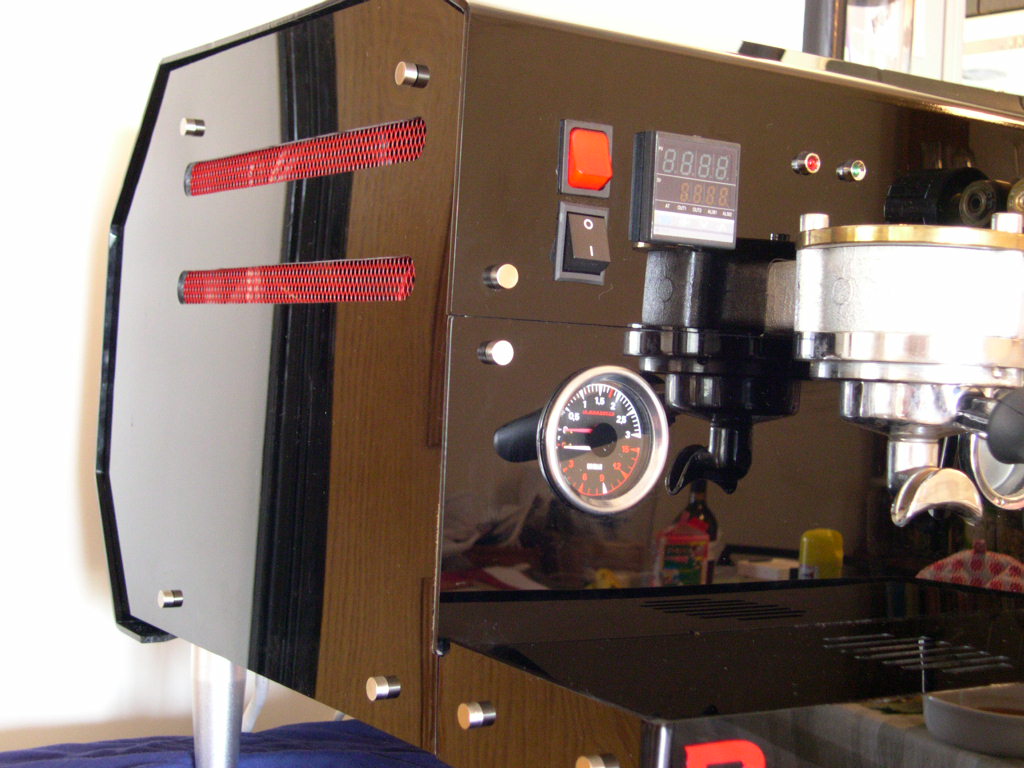

The group cover has been chrome plated. 25/11/04
I will say yes, but please ask first!
Email me here.